
Clamp the siding, align the bend line, feed the panel into the brake, then squeeze to form a crisp bend.
I have installed and shaped siding for more than a decade. This guide on how to use a vinyl siding brake breaks the process into clear steps. You will get tool choices, safety tips, step-by-step instructions, common problems, and pro tips I learned on job sites. Read on to master clean bends and neat trim with confidence.
Why use a vinyl siding brake?
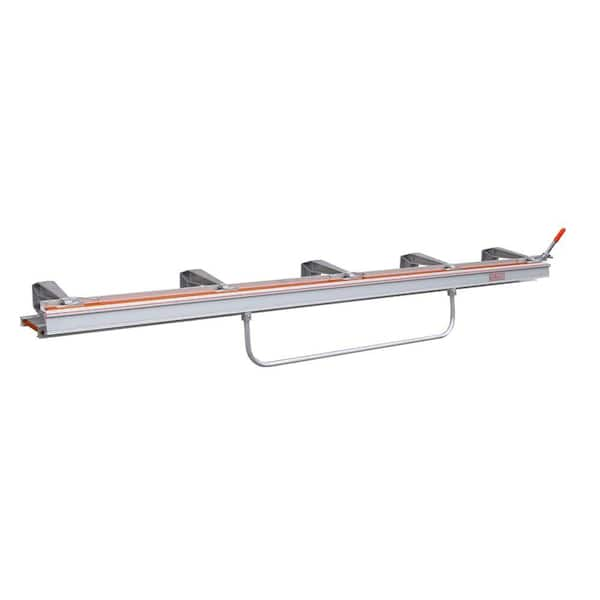
A vinyl siding brake is a bench tool. It bends and forms trim, soffit, and flashing from vinyl coil. The brake helps make straight, repeatable bends that fit tight to windows, doors, and corners.
Benefits include:
- Consistent bends for a neat finish.
- Faster production of multiple pieces.
- Cleaner edges than hand bending.
Knowing how to use a vinyl siding brake saves time and reduces waste on every siding job. When you want crisp J-channels, drip edges, or fascia pieces, the brake is essential.

Tools and safety gear you need
Prepare before you bend. Good prep keeps cuts neat and workers safe.
Essential tools and gear:
- Vinyl siding brake (manual or notched).
- Tape measure and marker.
- Straight edge or square.
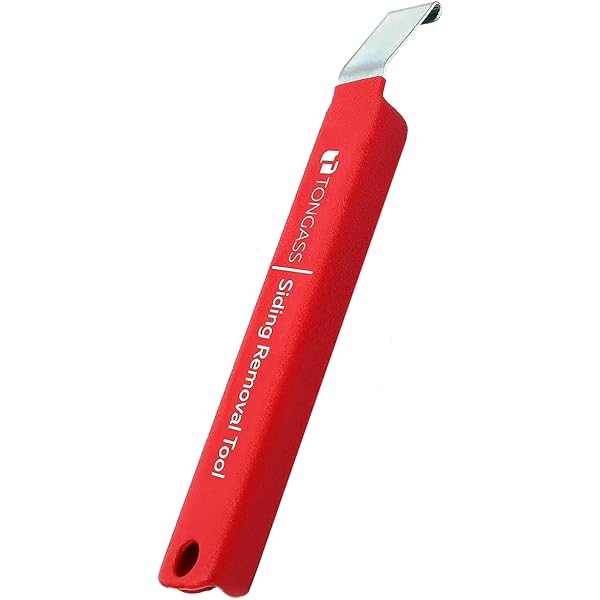
- Snips and utility knife.
- Safety glasses and gloves.
- Hearing protection if working near power tools.
- Workbench or table with clamps.
Extra helpful items:
- Punch or set of bending dies for complex shapes.
- Metal rule for accurate score lines.
- Protective mat to avoid scratches.
Always check the brake for wear. A clean clamp surface gives better bends and fewer scratches.

Step-by-step: how to use a vinyl siding brake
Follow these short steps. Each one is simple. Repeat steps until you feel confident.
- Measure and mark
- Lay the vinyl flat. Measure the bend line. Mark with a fine marker.
- Score if needed
- For tight bends, lightly score the back. Do not cut through the face.
- Set the brake
- Open the brake jaws. Slide the vinyl under the clamping bar.
- Align the bend
- Line up the mark with the brake edge. Hold the vinyl steady.
- Clamp firmly
- Tighten the clamp. Use even pressure to avoid bowing.
- Make the bend
- Lift the top leaf or use the handle to bend the vinyl to the desired angle.
- Check and adjust
- Release clamp. Inspect the bend. Re-clamp and tweak small angles if needed.
- Trim and finish
- Cut excess with snips. Smooth sharp edges.
Tips and notes:
- Work slow on the first piece. It sets a standard for all others.
- Use scrap pieces to practice angles.
- If the brake has a v-notched bar, use it for narrow returns.
How to use a vinyl siding brake safely:
- Keep fingers clear of the clamp.
- Wear gloves to avoid cuts.
- Use eye protection when cutting.
I repeat steps for clarity because practice makes results consistent. Mastering these steps will make your trim look professional.
Types of vinyl siding brakes and when to choose each
There are a few brake types. Each suits different jobs.
Common types:
- Manual box brake
- Best for small shops and on-site work.
- Notched brake
- Useful for making tight returns and J-channel shapes.
- Power brake
- Good for high volume work and thicker materials.
- Compact siding brake
- Portable and handy for narrow trim pieces.
Choose based on volume and job size. For one-off fixes, a manual brake works well. For many pieces or thicker coil, a power brake saves time.

Troubleshooting and common issues when using a vinyl siding brake
Problems happen. Here are quick fixes.
Warped or uneven bends:
- Cause: Uneven clamping or too much pressure on one side.
- Fix: Re-clamp and bend slowly from the center outward.
Cracked vinyl:
- Cause: Bending too tight or cold material.
- Fix: Warm the vinyl slightly or increase bend radius.
Scratched finish:
- Cause: Dirty clamp face or grit on material.
- Fix: Clean clamp and use a soft cloth under the vinyl.
Inaccurate angles:
- Cause: Misaligned mark or poor measurement.
- Fix: Measure twice. Use a square and practice on scrap.
If a brake slips under pressure, check the clamp bolts and replace worn rubber pads. Small checks prevent big mistakes.

Best practices, maintenance, and storage
Good care extends tool life. It also keeps bends consistent.
Daily care:
- Wipe the brake clean after use.
- Remove vinyl shavings and dust.
- Check clamp bolts and hinges.
Periodic maintenance:
- Lubricate moving parts with light oil.
- Inspect for bent bars or damaged pads.
- Replace worn pads to avoid scratches.
Storage tips:
- Store indoors to avoid rust.
- Keep the brake on a stable bench.
- Cover it to prevent dust buildup.
A well-kept brake performs better. You will bend faster and waste less material.

Personal experience and pro tips
I worked on siding crews for 12 years. I learned small habits that matter.
What helped me most:
- Mark twice, bend once. It saved scrap.
- Always bend the edge that will be visible last. This kept faces clean.
- Use a small piece of cloth between vinyl and clamp for finished pieces.
Mistakes I made:
- Bending cold vinyl too sharply. It cracked and cost me replacements.
- Skipping cleanup before a job. Scratches appeared on many pieces.
A pro tip: Place a shallow clamp at the center first. Then clamp ends. This reduces bowing.

PAA-style quick questions
What is the best brake for home use?
- A compact manual brake works well at home. It is portable and handles common trim pieces.
How tight should I bend vinyl siding?
- Avoid sharp 90-degree bends on thin vinyl. Use a slight radius to prevent cracking.
Can I heat vinyl to bend it?
- Mild heat helps for tight bends. Use a heat gun carefully and keep the gun moving.
How do I avoid marks on the face of vinyl?
- Use clean clamp pads and cover the vinyl with cloth while clamping.
Is practice necessary to get clean bends?
- Yes. Practice on scrap pieces until you get repeatable results.

Frequently Asked Questions of how to use a vinyl siding brake
How much force is needed to bend vinyl?
Use steady, even pressure. Too much force at once risks cracking. Increase force slowly until the bend forms.
Do I need a score line before bending?
Not always. For tight returns or thick material, a light score on the back helps control the bend without cutting the face.
Can I bend siding outdoors in cold weather?
Cold vinyl is more brittle. Warm the vinyl slightly before bending or work in a warmer space for best results.
How do I make consistent multiple pieces?
Create a template or jig. Measure each piece and use the same clamp position and angle for every cut.
What safety gear is essential?
Safety glasses and cut-resistant gloves are must-haves. Use hearing protection around power tools and a dust mask when cutting.
Conclusion
Mastering how to use a vinyl siding brake brings neat bends, less waste, and faster installs. Follow the steps, care for your tool, and practice on scrap to build skill. Try one clear project this week: make five identical trim pieces and compare them to your first attempt. Share your results, ask questions, or subscribe to learn more tips.