

Check frame integrity, tooling condition, capacity, and controls before buying.
I have spent years buying, inspecting, and refurbishing used metalworking equipment. This guide draws on hands-on experience and industry best practices to tell you exactly what to look for when buying a used siding brake. Read on for clear, practical checks, negotiation tips, and safety reminders so you can buy with confidence and avoid costly mistakes.

Why consider a used siding brake and what it really offers
A used siding brake lets you bend siding panels, flashings, and trim without the cost of new machinery. It can save money while delivering the same function as a new brake if chosen carefully.
Used machines vary in condition. Knowing what to look for when buying a used siding brake helps you spot good buys and avoid hidden problems. This section shows benefits, limits, and the baseline expectations for a safe purchase.
Key features to evaluate when buying a used siding brake
When evaluating what to look for when buying a used siding brake, focus on build, capacity, tooling, and controls. These items determine performance, safety, and future repair costs.
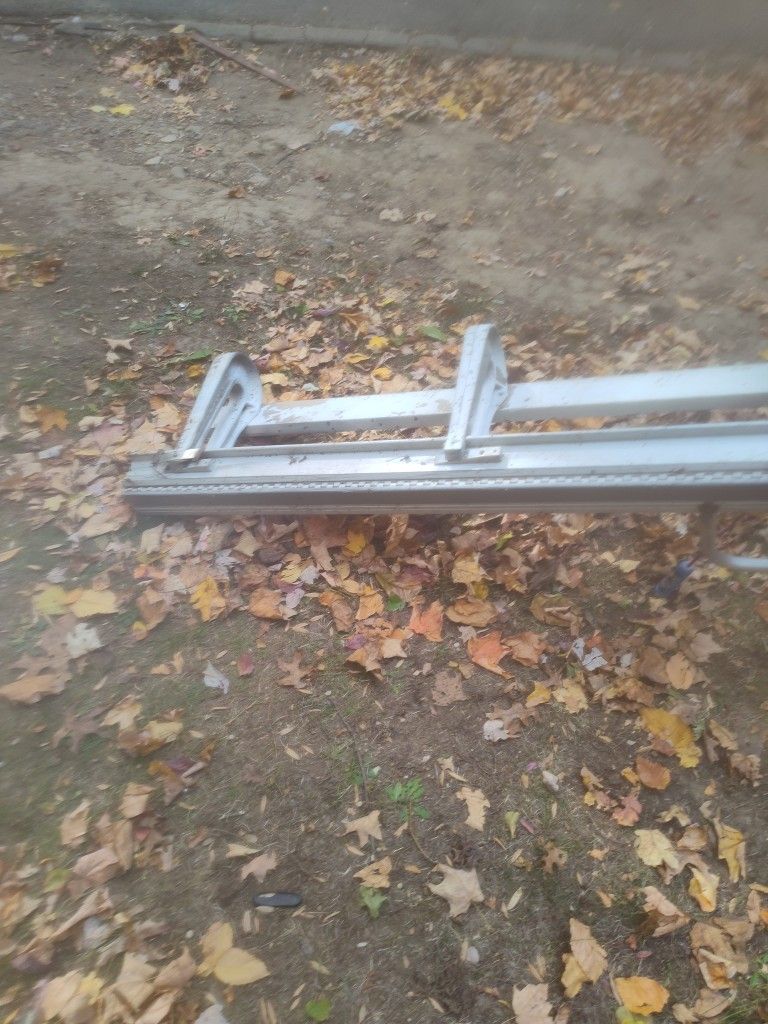
- Frame and bed condition: Check for cracks, heavy rust, and bent sections. A straight, solid frame keeps bends accurate.
- Working length: Match the brake length to the longest panels you plan to form. Do not buy a brake too short for your jobs.
- Material capacity: Verify maximum sheet thickness and type (aluminum, steel, stainless). The brake rating should exceed your typical use.
- Clamping system: Inspect the clamping bar and latching. Even clamping prevents slippage and uneven bends.
- Tooling and fingers: Count fingers and inspect for wear or missing dies. Standard tooling is easier and cheaper to replace.
- Back gauge or stops: Confirm adjustable stops for repeatable bends. Simple mechanical stops add value.
- Drive and adjustment: Check manual vs. hydraulic operation and look at gear/worm-drive condition. Smooth operation matters.
- Controls and safety devices: Ensure foot pedal or lever works, and that guards are intact. Missing safety parts increase risk and cost.
- Brand and serial plate: Note model and serial for part sourcing and manual lookup. Some brands have better parts networks.

Physical inspection checklist: step-by-step
A hands-on check avoids surprises. Follow this simple walk-through when you meet the seller.
- Exterior walk-around: Look for aligned bed edges and square ends. Small bends can mean larger internal faults.
- Check for rust and corrosion: Surface rust is fixable; deep pitting at critical joints is a deal breaker.
- Inspect fasteners and welds: Loose bolts, missing hardware, or cracked welds signal poor maintenance.
- Verify straightness of the clamping bar and bed: Roll a straight edge along faces if possible. Warped tooling gives poor results.
- Tooling fit and wear test: Mount and test a finger or die. Excessive play or worn edges reduce accuracy.
- Measure runout and parallelism: Measure with a tape or straight edge; tolerances may be tight for siding work.

Mechanical, hydraulic, and electrical checks
Function matters as much as look. Testing systems prevents buying a nonworking unit.
- Run the machine: Operate full range of motion. Listen for grinding, knocking, or heavy vibration.
- Hydraulic inspection: Look for fluid leaks, soft hoses, and pitted cylinders. Loss of pressure or oil contamination shows issues.
- Mechanical wear points: Check gears, bearings, and pivot pins for play. Replaceable wear parts are normal; seized parts are costly.
- Motor and electrical: Start motor and watch amperage if you can. Smells, smoke residue, or inconsistent power draw indicate problems.
- Controls and sensors: Test foot pedal, limit switches, and emergency stop. Safety interlocks must work reliably.

Sizing, capacity, tooling compatibility, and accessories
Match the brake to your jobs and future needs. Avoid surprises by confirming specs.
- Match length to panel sizes: Buying a brake shorter than your longest trim forces extra seams and labor.
- Confirm thickness and material limits: Verify rated gauge and check actual performance with a sample if allowed.
- Tooling standards: Check whether the brake uses common finger spacing or proprietary tooling. Common tooling saves money.
- Accessories to value: Back gauges, bending stops, and folding wings add value. Missing accessories may be costly to replicate.
- Shipping and install footprint: Measure door, floor, and truck clearances. Some brakes are heavy and need rigging gear.

Documentation, records, and provenance to request
Paperwork reduces risk and speeds repair. Ask for these items before buying.
- Service and maintenance records: These show how well the brake was cared for.
- Manuals and parts lists: Manuals help with safe use and repairs.
- Proof of ownership and sale reason: Clear provenance prevents legal trouble and hints at hidden faults.
- Spare parts inventory: Included dies, clamps, or fingers add tangible value.
- Inspection reports: A recent shop inspection or test run report is a plus.
Pricing, negotiation, and total cost of ownership
Price is more than the sale tag. Count long-term costs to know the true value.
- Market check: Compare similar make, model, and length. Listings and auction results set realistic ranges.
- Factor refurb and repair costs: Replace worn tooling, seals, or bearings when estimating value.
- Transport, rigging, and installation: These can match or exceed purchase price for large brakes.
- Warranties and return policy: Few used sellers offer warranties; aim for a short test period if possible.
- Walk-away conditions: Set red lines such as cracked frames or seized drives and be prepared to leave the deal.

Personal experience: lessons from buying used siding brakes
I once bought a well-priced brake that looked solid. At first glance it seemed fine. On test, the clamping bed was warped. Repair costs exceeded savings and I lost time. Since then I always insist on a live test and a flatness check.
Practical tips I use now:
- Bring a straight edge and tape to the inspection.
- Ask for a short demo with a scrap piece of metal.
- Buy from a seller who will let you inspect for at least one hour.
- If you lack rigging knowledge, consult a rigger before purchase.
Frequently Asked Questions of what to look for when buying a used siding brake
What is the single most important thing to check on a used siding brake?
The frame and clamping bed condition are most important because they determine bend accuracy and safety. Severe warping or cracked structure is often not worth repairing.
How do I test a used siding brake before buying it?
Operate the machine through full motion, run a sample bend with scrap material, and listen for abnormal noises. Also check controls, clamping, and any hydraulic action.
Can a used siding brake handle different metals and thicknesses?
Yes, if the brake is rated for those materials and capacities. Verify the brake’s gauge rating and test with the intended material whenever possible.
Are replacement parts easy to find for older brakes?
It depends on make and model; common brands have better parts support. Always check tooling standards and parts availability before buying.
Is buying a used siding brake cost effective for a small shop?
Often yes, if the unit is in good condition and matches your workload. Factor in refurbishment, shipping, and possible downtime to assess total value.
Conclusion
Buying a used siding brake can be a smart, cost-saving decision when you know what to look for when buying a used siding brake. Prioritize frame integrity, tooling condition, capacity, and a full functional test. Ask for records, demo the machine, and calculate total costs including shipping and repairs.
Take action: use the checklists above at your next inspection, and request a live demo before you commit. If you found this guide helpful, subscribe for more buying tips, or leave a comment with your inspection questions.