
Bend 4 brake siding by scoring and clamping, then make small, precise bends with the brake.
I have bent 4 brake siding for roofs and walls for over a decade. This guide explains how to bend 4 brake siding step by step. You will learn the tools, setup, bending technique, common angles, and finishing tips. I blend hands-on tips from my shop work with tried methods used by pros. Read on to gain a clear, safe, and practical path to bend 4 brake siding correctly every time.

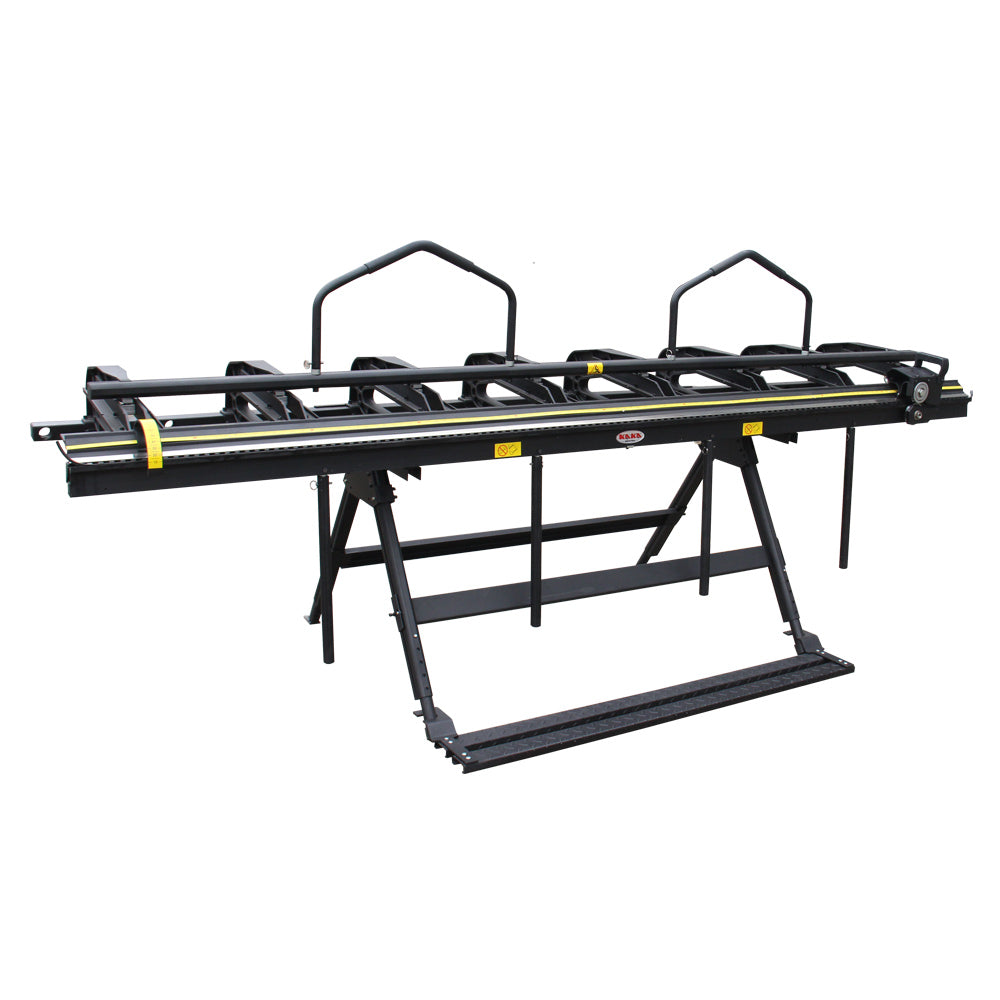
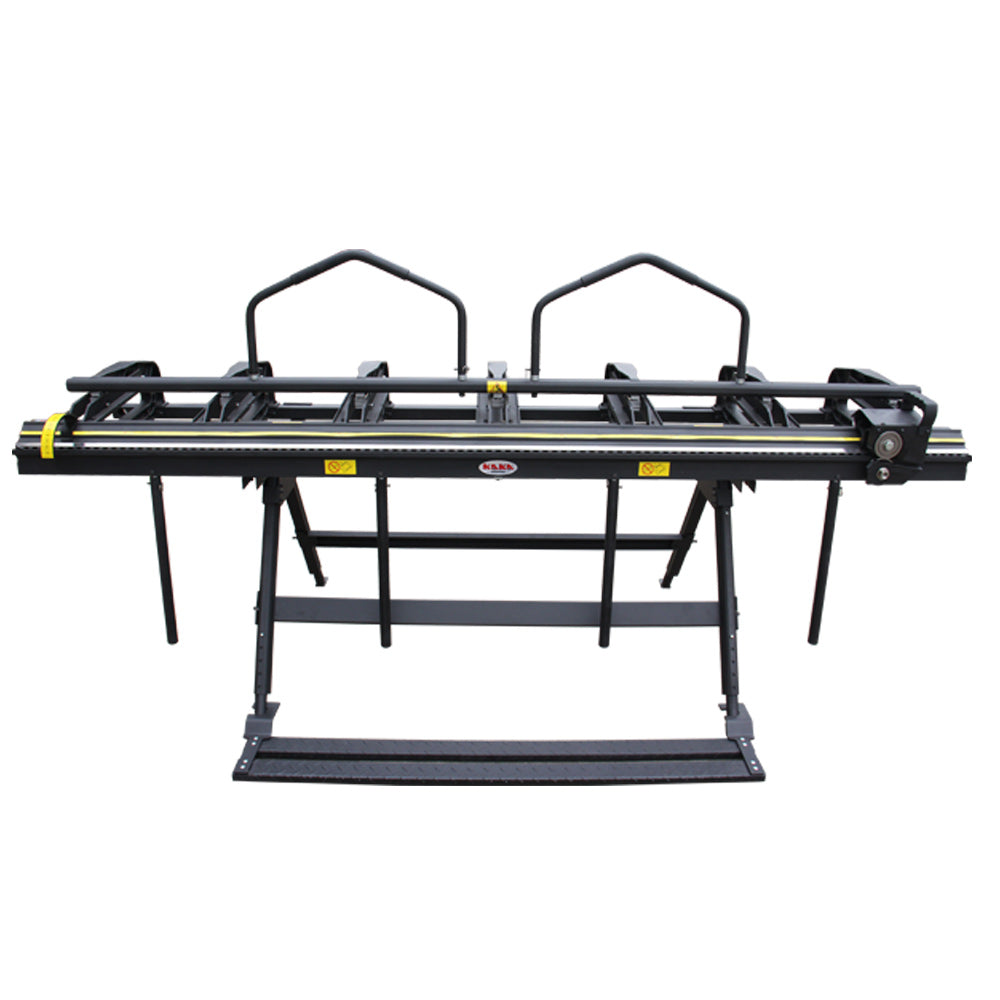
Understanding 4 brake siding and bending basics
4 brake siding refers to metal siding or flashing pieces formed using a four-foot sheet metal brake. The brake clamps the panel and creates precise bends. Learning how to bend 4 brake siding means mastering setup, bend allowance, and small corrections.
Why proper bending matters
- Produces neat seams and water-tight joints.
- Prevents cracks, fishmouths, or kinks in siding.
- Keeps trim and panels consistent for easy installation.
Key terms to know
- Bend allowance: extra length needed for the metal to form a bend.
- Relief cut: a small cut to prevent buckling on tight bends.
- Brake leaf: the top clamp on the brake that holds material.
PAA-style quick questions
- What thickness works best for a 4-foot brake? Most 4-foot brakes handle 26 to 18 gauge steel or aluminum. Heavier gauge needs a larger brake or multiple shallow bends.
- How tight can a bend be? Minimum bend radius depends on metal and thickness. Aluminum needs gentler radius than steel.
- Do you need special siding panels? Use panels sized to the brake capacity and pre-cut to length for best results.

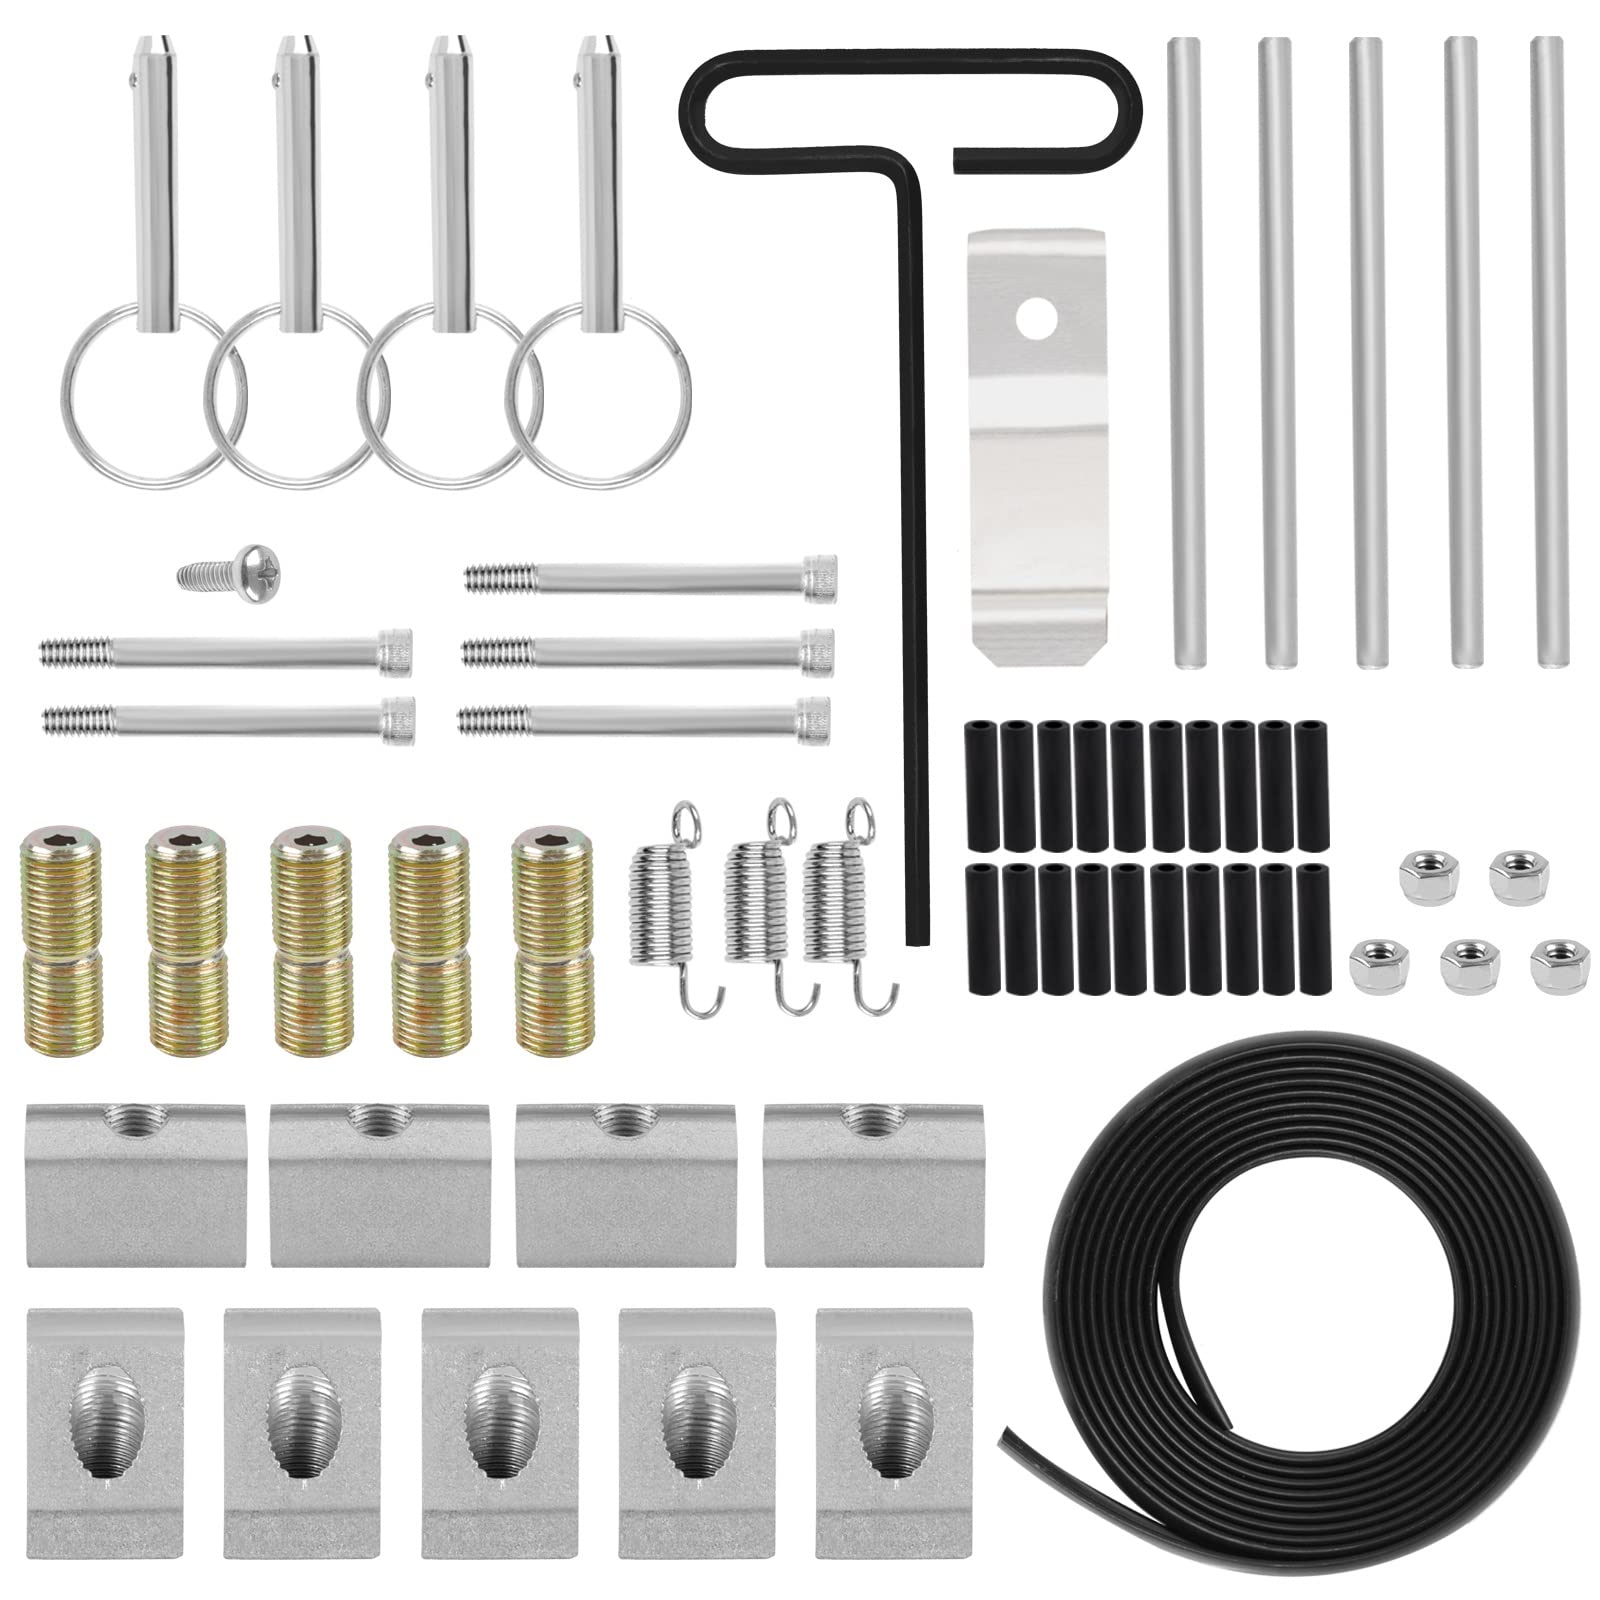
Tools and materials needed
You need the right tools to bend 4 brake siding cleanly. Below is a focused list.
Essential tools
- 4-foot sheet metal brake rated for the metal gauge you use.
- Measuring tape and a permanent marker.
- Steel rule or straightedge for layout.
- Clamps or a hold-down to keep long panels steady.
- Hand seamer for small adjustments.
- Metal snips and nibblers for cutting.
- Work gloves and eye protection.
Material choices
- Aluminum 0.032" to 0.040" is common for siding.
- Galvanized steel 26 to 24 gauge for durable trims.
- Pre-painted coil stock sized for the brake width.
Consumables and extras
- Masking tape to prevent paint scratches.
- Touch-up paint for cut edges.
- A rubber mallet for soft tap adjustments.
From my experience, a quality hand seamer saves time. It fixes small misalignments quickly while preserving paint.
Step-by-step guide to bend 4 brake siding
Follow these clear steps to bend 4 brake siding safely and accurately.
- Measure and mark
- Measure the panel and mark the bend line using a straightedge.
- Add bend allowance based on material thickness and angle.
- Double-check dimensions before cutting.
- Prepare the brake
- Clean the brake surfaces to protect painted metal.
- Set the clamping leaf flat and aligned.
- Test the brake with scrap metal to verify alignment.
- Clamp and align the panel
- Position the panel so the bend line sits just outside the clamp edge.
- Use light clamps to hold long panels in place.
- Ensure the panel is square to the brake edge.
- Make the bend
- Lift the brake leaf slowly to about 30 degrees first.
- Close in small steps until you reach the target angle.
- For tight angles, use relief cuts and form in stages.
- Fine-tune the bend
- Use a hand seamer to press corners and flatten burrs.
- Check the angle with a protractor or angle gauge.
- Correct minor errors with gentle mallet taps or the seamer.
- Finish edges and protect paint
- File sharp edges and apply touch-up paint.
- Add sealant or backer as needed for weather-tight joints.
Tips from practice
- Bend slowly in stages to avoid cracking paint.
- Keep scrap pieces for testing bends before working on final panels.
- Note that painted finishes require extra care to avoid scratches.
Common bend types and measurements
Knowing common bend styles helps when you bend 4 brake siding for trim and flashings.
Common bends
- 90-degree hem: used for edges and to stiffen metal.
- 45-degree angle: for drip edges and simple trim.
- Offset bend: two bends to shift metal plane.
- Box hem: fold twice for a rounded edge and safety.
How to calculate bend allowance
- For thin siding, use a simple rule: add 1.5 times the metal thickness per 90-degree inside bend.
- For more accuracy use a bend allowance chart based on material and angle.
Standard measurements
- Hems often use 3/8" to 3/4" returns.
- Drip edges usually bend 1/2" to 1" over the lip.
- For siding returns, keep flanged edges under the gauge limit of the brake.
I once misjudged bend allowance on a long run. The panel sat short by 1/2". I learned to always test a scrap piece for the exact material batch.

Safety tips and mistakes to avoid
Bending metal has risks. Use these safety measures and avoid common errors.
Safety best practices
- Wear cut-resistant gloves and safety glasses.
- Keep fingers clear of the clamp line.
- Secure long panels to prevent tipping.
- Work on a stable, level surface.
Common mistakes and fixes
- Mistake: Clamping over the bend line. Fix: Re-mark and reposition outside clamp edge.
- Mistake: Bending too fast. Fix: Unbend slightly and re-bend in small steps.
- Mistake: Using wrong gauge brake. Fix: Use a brake rated for the metal or split the bend into smaller steps.
Practical lesson
- Always test on scrap metal from the same coil. Variation in temper changes the bend feel.
Troubleshooting and finishing touches
Small errors are fixable. Here is how to handle common problems and perfect the result.
Fixing fishmouths and kinks
- Use the hand seamer to press the kink flat.
- Add a small relief cut, form, then seam the cut closed.
Dealing with paint cracking
- Reduce bend angle per step.
- Heat very slightly with a heat gun on aluminum when necessary.
- Use flexible paint touch-up on the bend area.
Sealing and long-term protection
- Apply a thin bead of compatible sealant in seams.
- Use corrosion-resistant screws and washers.
- Inspect and touch up edges after installation.
Finishing advice from field work
- Keep spare trim for on-site adjustments.
- Mark repeatable bend stops on the brake to speed production.

Frequently Asked Questions of how to bend 4 brake siding
What gauge metal can a 4-foot brake bend?
Most 4-foot brakes handle 26 to 18 gauge sheet, depending on brake capacity. Check the brake rating for the specific metal and temper.
How do I prevent paint from cracking while bending?
Bend in small steps and avoid sharp radii. Test a scrap piece and consider slight heat for aluminum if needed.
Can I bend long siding runs on a 4-foot brake?
Yes, but you must form long panels in sections and use clamps to keep alignment. Lap and seam each section carefully.
Do I need relief cuts for tight bends?
Yes. Relief cuts reduce buckling and fishmouthing on tight offsets. Close and seam any cuts afterward.
How do I measure for bend allowance?
Use a simple rule of thumb: add 1.5 times the metal thickness for each 90-degree inside bend, and test on scrap for best accuracy.
Conclusion
Bending 4 brake siding is a skill you can learn with the right tools, simple math, and steady practice. Start with scrap tests, follow the step-by-step method, and use small, controlled bends to protect paint and metal. Apply safety habits and keep a hand seamer for quick fixes. Try one panel today, note the bend allowance, and repeat until you get consistent results. Share your experience, ask questions, or subscribe for more practical metalworking guides.