
Fix a siding brake by inspecting worn parts, replacing hinges or pads, aligning the clamp, and testing.
I have spent years working with metal brakes and siding tools. This guide on how to repair siding brake explains the parts, common faults, and step-by-step fixes. You will get clear, tested steps, safety tips, and cost guidance. Read on to learn how to repair siding brake with confidence and avoid costly mistakes.
What is a siding brake and why repair matters
A siding brake is a metal bending tool used to form edges and seams on metal siding and trim. The machine clamps sheet metal and lifts a bending leaf to form angles. Knowing how to repair siding brake helps you keep precise bends, reduce waste, and extend equipment life. A well-serviced brake saves time on jobs and improves finished results.

Common problems and root causes
Most issues are wear, alignment, or fastener failure. Common problems include:
- Worn clamping bar pads that slip while bending.
- Loose pivot bolts or worn hinge pins causing inconsistent angles.
- Bent or cracked bending leaf from overload or corrosion.
- Misaligned back gauges that yield uneven bends.
- Stuck or frozen clamps due to rust and lack of lubrication.
Understanding these causes helps you diagnose how to repair siding brake correctly. Fixing the root cause avoids repeat failures and maintains quality on every panel.

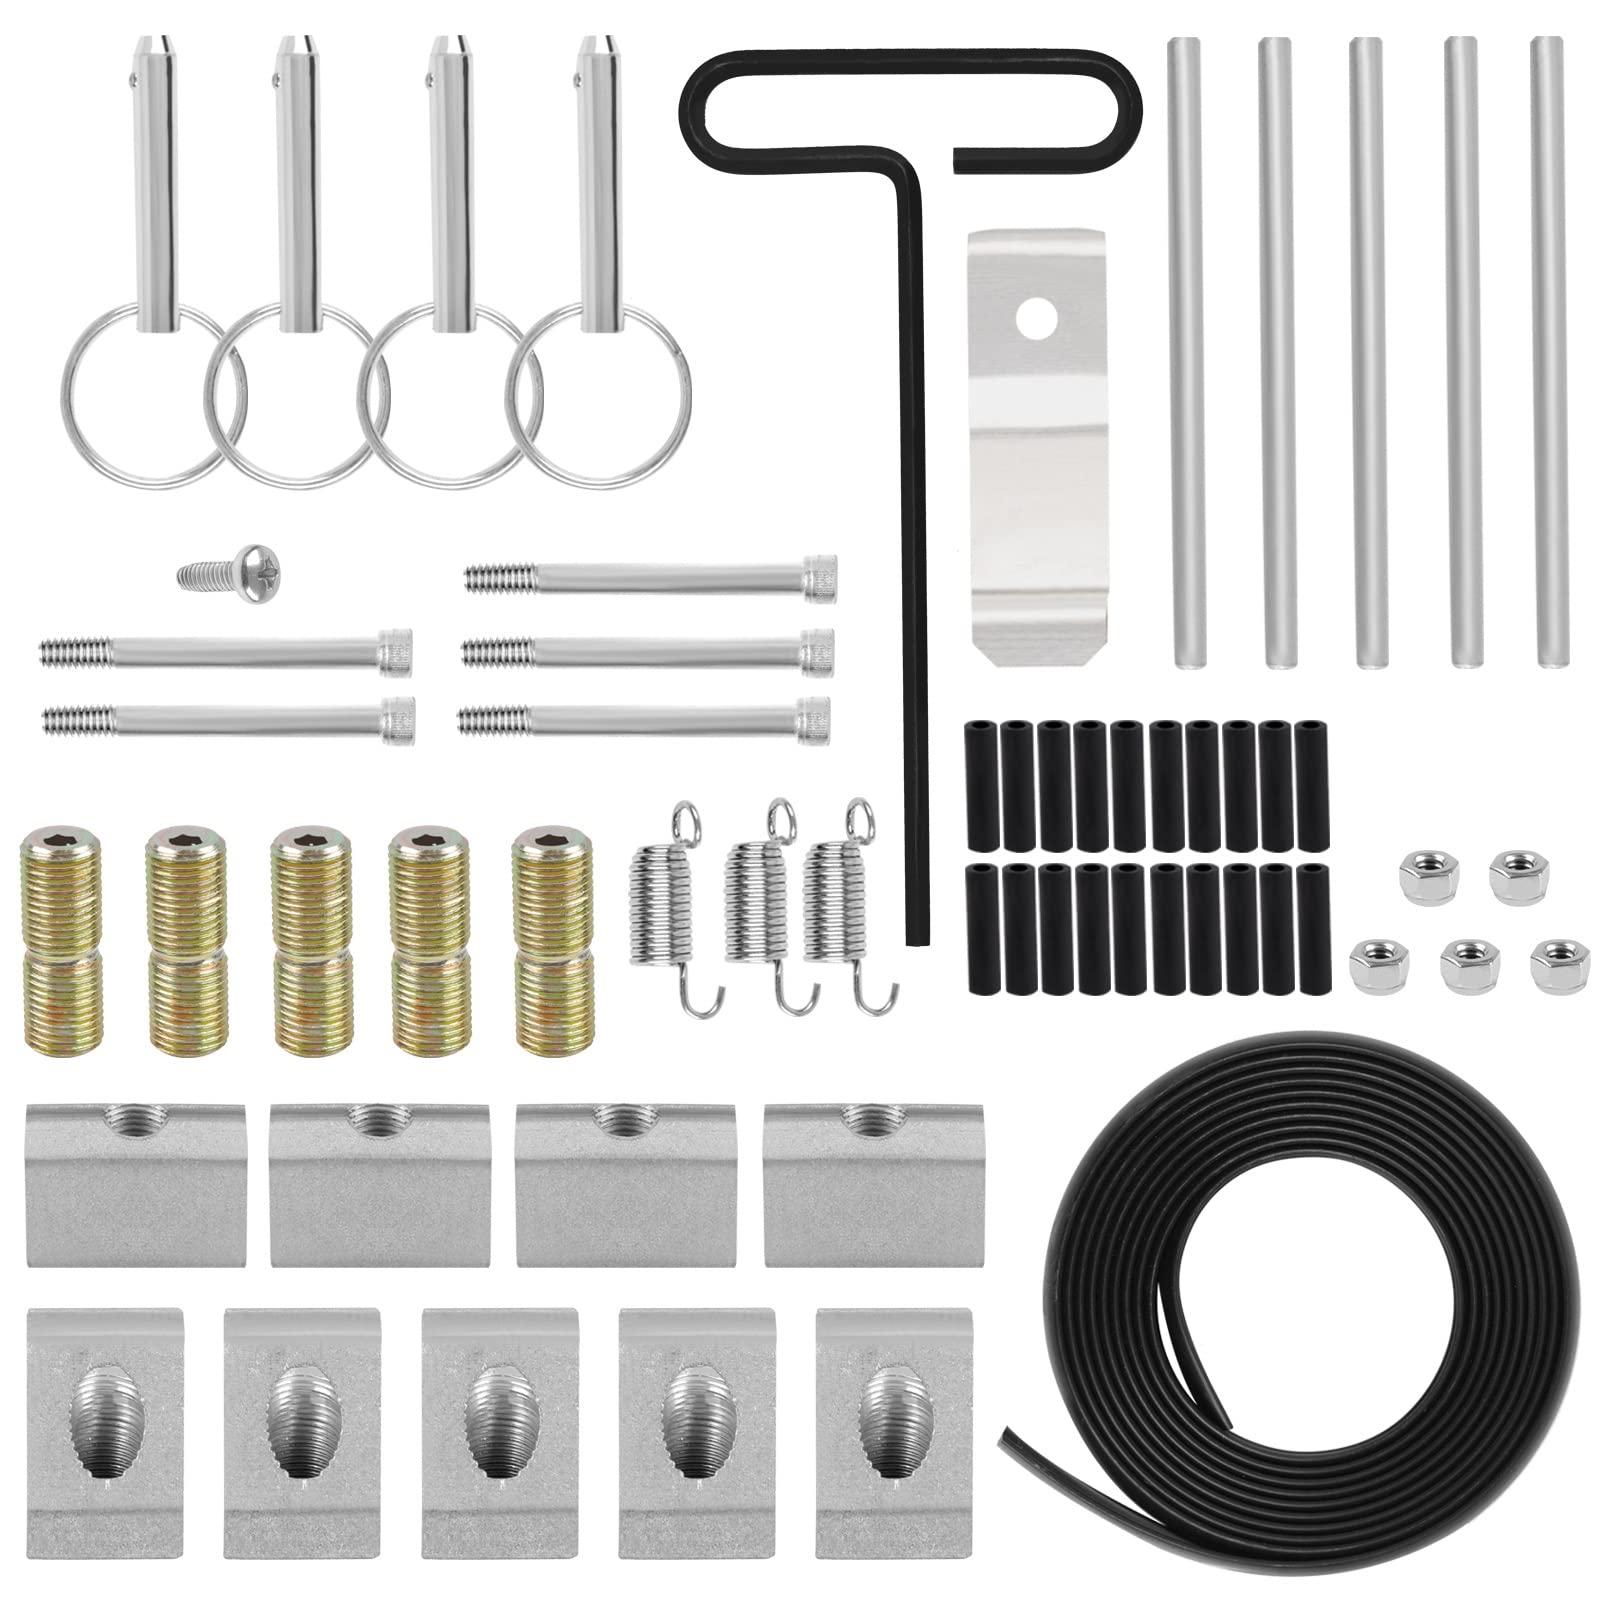
Tools and materials you will need
Prepare these tools before you begin to repair siding brake:
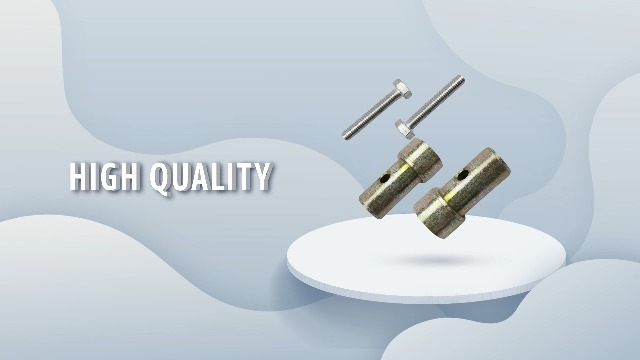
- Wrenches and sockets sized to your brake’s hardware.
- Replacement hinge pins, pivot bolts, and clamping pad kits.
- Lubricants: penetrating oil and a light machine oil.
- Soft hammer and punch for pin removal.
- File or bench grinder for smoothing edges and light reshaping.
- Welding gear for cracked or broken steel parts (only if certified).
- Safety gear: gloves, eye protection, and steel-toed shoes.
Having parts and tools ready makes how to repair siding brake faster and safer.

Step-by-step guide: how to repair siding brake
Follow these steps for a typical repair. Read each step fully before you act.
-
Inspect and document
- Turn off any power and lock out the machine if it is powered.
- Inspect the clamping bar, hinge area, back gauge, and frame.
- Take photos and notes. This helps reassemble and confirm alignment.
-
Remove the clamping bar and pads
- Loosen clamp bolts evenly to avoid twisting the frame.
- Remove worn rubber or plastic pads. Replace with matching pads.
- Clean mating surfaces before reassembly.
-
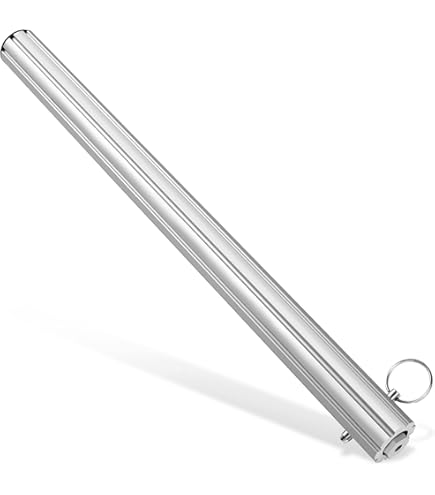
Replace hinge pins and pivot bolts
- Support the bending leaf with blocks or a helper.
- Drive out old pins using a punch. Use new hardened pins and proper cotters or retaining rings.
- Ensure pin holes are not elongated; if they are, consider bushing.
-
Realign and adjust
- Reassemble components loosely. Check that leaves close squarely.
- Adjust back gauge and clamp height to get even contact along the length.
- Tighten bolts in stages while checking alignment.
-
Lubricate and test
- Apply light oil to hinge points and moving parts.
- Make test bends with scrap metal. Check angles and adjust stops.
- Re-check fasteners after the first few bends.
-
Repair cracked or bent metal parts
- Small bends can be straightened with controlled heat and a press.
- Cracks in structural parts may need welding and reinforcement.
- If the main beam is severely damaged, replacement may be safer.
These steps cover most scenarios when learning how to repair siding brake. If you are unsure about welding or major structural fixes, consult a professional.

Safety and best practices
Safety keeps you working longer and avoids injury. Key safety points:
- Always lock out power and disconnect electrical input before repair.
- Use proper supports for heavy parts to avoid pinch injuries.
- Wear gloves and eye protection during disassembly or welding.
- Do not improvise substitute pins or fasteners; use rated replacements.
- When in doubt about structural repairs, hire a certified fabricator.
Following safety rules also protects the accuracy and life of your brake during repair.

Maintenance schedule and preventive care
Regular care reduces how often you must repair siding brake. Recommended schedule:
- Weekly: wipe down, light oil on pivots, check clamp pressure.
- Monthly: inspect pads, tighten bolts, test angle accuracy.
- Yearly: full teardown for deep cleaning, replace wear parts, verify straightness.
Simple maintenance avoids sudden failures on the job and keeps your bends consistent.
Cost factors and when to DIY vs hire pros
Typical costs vary by part and damage level. Expect:
- Small parts (pins, pads): low cost and easy DIY.
- Bushing or hinge replacements: moderate cost, doable with tools.
- Welding structural cracks or replacing beams: higher cost and professional work.
Try DIY when the problem is wear or alignment and you have basic tools. Hire a pro for major structural damage, complex welding, or if machine alignment is beyond your skill set.
Personal experience and lessons learned
I repaired many siding brakes for contractors and small shops. Simple things made the biggest difference. Replacing worn clamp pads stopped slips on long runs. Tightening pivot bolts prevented angle drift during long jobs. One time I tried to save money with soft pins; that led to elongated holes and a more expensive bushing job. The lesson: use correct replacement parts and take time for alignment checks.
Frequently Asked Questions of how to repair siding brake
How do I know if my siding brake needs repair?
Look for slipping clamps, uneven bends, or visible wobble in the leaf. Test with scrap metal; inconsistent angles mean repair is needed.
Can I replace hinge pins myself?
Yes, if you have basic tools and a helper to support the leaf. Use correct-size hardened pins and check for elongated holes.
How long does a typical repair take?
A basic pad and pin replacement can take 1–2 hours. Major structural repairs or welding will take longer and may need shop time.
Is welding always required for cracked parts?
Not always. Small cracks can sometimes be reinforced or avoided with replacement parts. Structural cracks usually need welding by a certified technician.
What routine maintenance prevents frequent repairs?
Regular lubrication, pad inspection, and tightening pivot bolts reduce wear. A monthly check keeps the brake accurate and reliable.
Conclusion
Repairing a siding brake starts with careful inspection, correct parts, and precise alignment. Follow the step-by-step guide and safety tips to restore consistent bends and avoid repeat failures. If a repair looks complex, hire a pro to protect your machine and your work. Try the simple fixes first, keep a maintenance routine, and leave major structural fixes to specialists. If this guide helped, subscribe for more repair guides or share your repair story in the comments.