
Clean, dry, then lightly sand cedar shakes with 120–150 grit for mildew.
If you want to know how to sand off mildew from cedar shakes the right way, you’re in the right place. I’ve restored countless cedar roofs and walls. This guide gives clear steps, pro tips, and common mistakes to avoid so you can work faster and safer, and keep your cedar looking good for years.
Why mildew grows on cedar shakes and when sanding makes sense
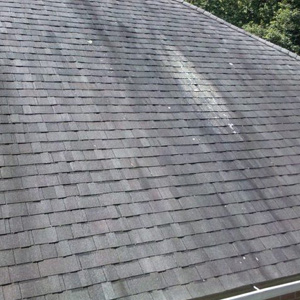
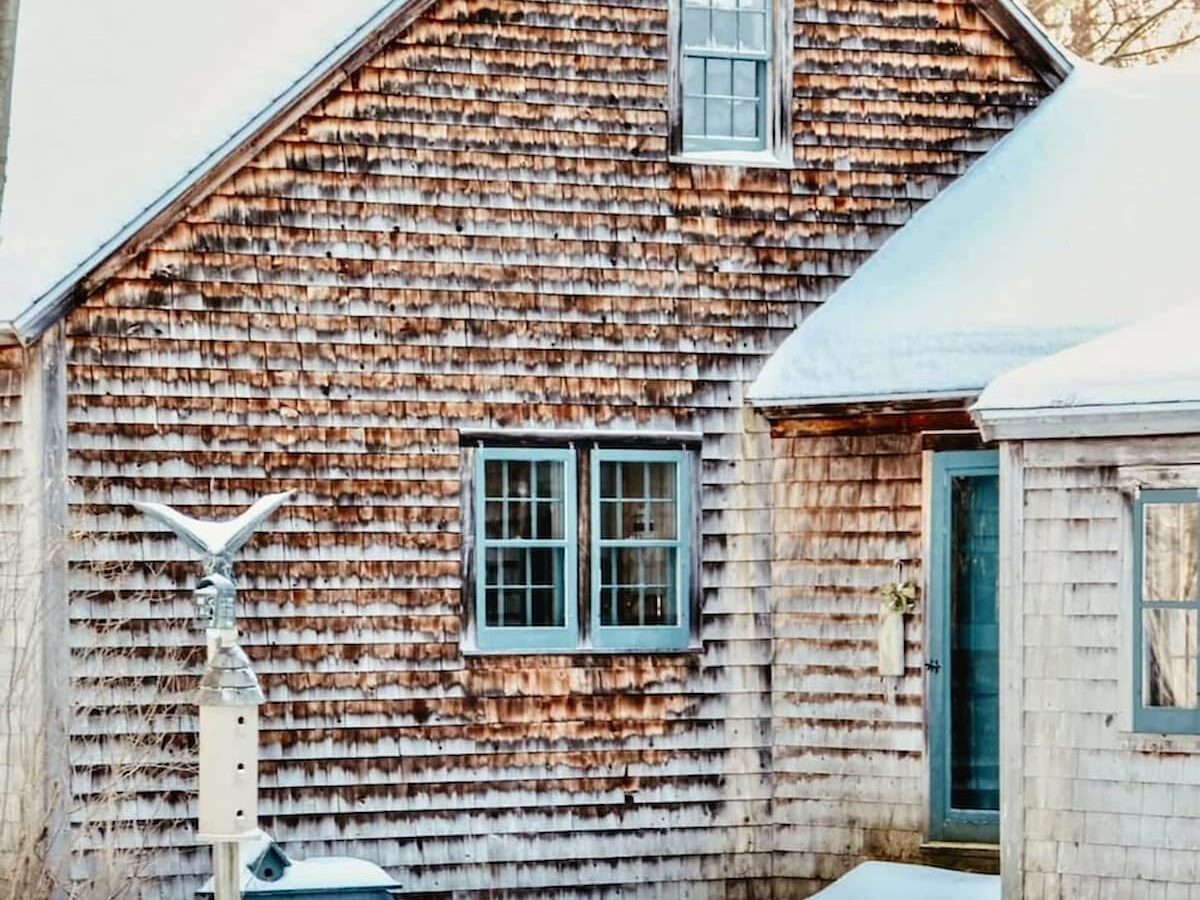
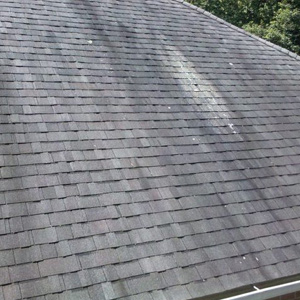
Cedar has natural oils that resist decay, but shade, moisture, and dirt still invite mildew. North-facing sides, overhanging trees, and clogged gutters make it worse. When the surface turns blotchy or dull gray-black, the fibers often hold mildew and grime.
Before you learn how to sand off mildew from cedar shakes, know this: sanding removes the stained layer, but cleaning first kills the spores. Many times, a proper clean and brightener solve most of the problem. Sanding then blends out stubborn blotches and restores fresh wood for a finish.
There are limits. Heavy rot, cupped or split shakes, or deep fungal growth call for repair, not sanding. If your shakes are very thin or near the end of life, keep sanding light or skip it. Manufacturer guidance and building science data agree: remove as little wood as needed.

Safety, prep, and ideal conditions for how to sand off mildew from cedar shakes
Work only when the shakes are dry. Aim for two sunny, breezy days before sanding. Morning dew counts as moisture. If you use a moisture meter, below 15% is a good target.
Use basic safety gear. Wear a P100 or N95 respirator, safety glasses, gloves, and hearing protection. If working at height, use stable footing, roof jacks, or a lift. Avoid steep or slick roofs. Do not work in wind or on wet surfaces.
Protect your space. Cover plants, decks, and windows. Shut off exterior outlets. Test cleaners on a small area. Never mix bleach with acids or ammonia. Rinse tools and siding well.
Tools and materials checklist
You will not need everything here, but this list keeps you ready.
- Respirator, safety glasses, gloves, hearing protection
- Sturdy ladder, stabilizer, or scaffold
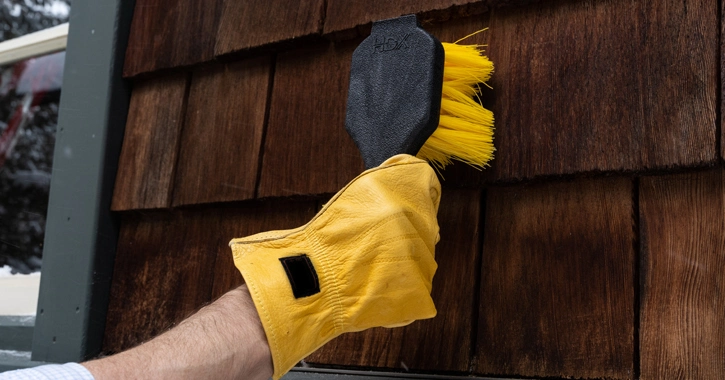
- Soft to medium scrub brush and nylon detail brush
- Garden sprayer or pump sprayer
- Oxygen bleach cleaner or peroxide-based cleaner for mildew
- Oxalic acid brightener for gray and tannin stains
- Borate solution for added mildew resistance
- Buckets, hose with gentle nozzle, drop cloths
- Sanding block or pole sander for flat control
- Random orbital sander with dust bag or HEPA vac attachment
- Detail sander or multi-tool for edges and gaps
- Sandpaper grits: 100, 120, 150, 180
- HEPA shop vac, clean rags, painter’s tape, plastic sheeting
- Penetrating oil-based stain or water-repellent with mildewcide

Step-by-step: how to sand off mildew from cedar shakes the right way
-
Inspect and plan
Mark bad shakes that need replacement. Note shade patterns and drainage issues. Work in small zones so you can clean, dry, and sand in order. -
Clean to kill mildew
Mix oxygen bleach per label. Spray on dry wood. Let it dwell 10–15 minutes. Scrub with the grain. Do not use high-pressure washing. A gentle rinse is enough. -
Rinse and dry fully
Rinse from top down. Avoid flooding behind shakes. Let it dry one to two days in fair weather. -
Mask and set up dust control
Cover windows, plants, and fixtures. Hook up a dust bag or HEPA vac to your sander. -
Test a small area
Start with 120 grit on a sanding block or random orbital. Sand with the grain using light pressure. Check color and texture. If marks remain, step to 100 grit, then finish back at 120–150. -
Sand the field
Work in smooth, overlapping passes. Keep the sander flat. Do not dig edges in. Feather transitions between shakes. For split-face shakes, use a soft pad and very light touch. -
Hit edges and details
Use a detail sander or a folded sheet to reach overlaps and joints. Keep strokes with the grain. -
Vacuum and wipe
Vacuum dust between grits. Wipe with a damp rag and let dry. -
Brighten if needed
If gray cast or iron stains remain, apply oxalic acid brightener per label. Rinse well and let dry before the final sand touch-up. -
Final pass and prep for finish
Do a light 150–180 grit pass to even the surface. Vacuum again. The wood should look clean and fresh.
This method is the core of how to sand off mildew from cedar shakes and set them up for a long-lasting finish.

Technique tips that save wood and time
Use the least aggressive grit that works. Most jobs start at 120. Go to 100 only for stubborn patches. Finish at 150 on walls. For roofs, keep it conservative to avoid removing too much material.
Keep pressure light. Let the paper cut. If dust turns dark or gummy, the wood is damp. Stop and let it dry. Move at a steady pace so you do not dish out soft summerwood between harder rings.
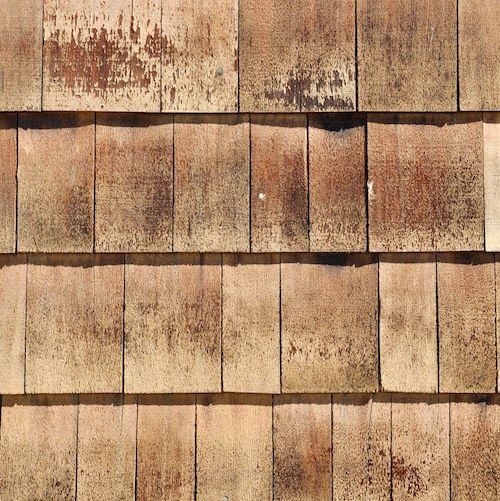
On rough-sawn or split shakes, sanding only knocks back the high spots. That is fine. The goal is to blend, not to make a furniture finish. If the shake face has deep texture, do more cleaning and less sanding.
Handling stubborn stains and deep discoloration
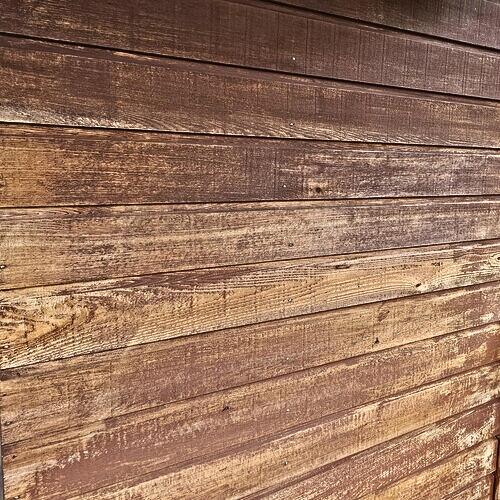
Some black stains are mildew in the surface. Others are extractives or iron reactions. Clean first, then decide. If a mark remains after a 120 grit pass, try:
- Spot sanding with 100 grit, then refine with 150.
- Oxalic acid brightener for gray weathering and iron-tannin stains.
- A second oxygen bleach wash if you find live growth.
Never mix bleach and acids. Rinse well between products. If a stain goes deep, sanding too far can thin the shake. Replace that piece instead.
Finish and prevent future mildew after you sand
After you finish how to sand off mildew from cedar shakes, seal your work. Use a penetrating oil with mildewcide or a high-grade water repellent. Apply per label in dry weather. Back-brush to drive it in.
Plan upkeep. Clean gently every 12–24 months in damp climates. Keep trees trimmed. Clear gutters and splash zones. Good airflow and sun are your best allies. A borate wash during maintenance can slow mildew regrowth.
Common mistakes to avoid when you sand cedar shakes
- Power washing at high pressure. This erodes fibers and forces water behind shakes.
- Sanding wet wood. It clogs paper and tears fibers.
- Using very coarse grit. Deep scratches invite water and look patchy.
- Cross-grain sanding. It scars the face and shows through finishes.
- Skipping the clean step. Sanding alone spreads spores and leaves them alive.
- Forgetting dust removal. Finish will not bond well over dust.
- Working on unsafe footing. Do not trade safety for speed.

Costs, time, and when to hire a pro
Expect a DIY pace of 60–120 square feet per hour for clean-and-sand on walls. Roofs take longer due to footing and layout. Materials for a mid-size wall run modest, but safety gear and time add up.
Hire a pro if the roof is steep, high, or fragile. Also bring in help if you see wide rot, active leaks, or many loose shakes. A skilled crew that knows how to sand off mildew from cedar shakes will protect nearby surfaces, manage dust, and deliver even color for finishing.
Frequently Asked Questions of how to sand off mildew from cedar shakes
Do I need to clean before sanding?
Yes. Cleaning kills the mildew and lifts dirt, so sanding removes less wood. Skipping the clean step spreads spores and can smear stains.
What grit should I use on cedar shakes?
Start at 120 grit and check results. If needed, step down to 100 for spots, then refine to 150.
Can I use a pressure washer instead of sanding?
Use low pressure only for rinsing. High pressure can fuzz the grain and drive water behind shakes, which leads to more mildew.
How long should the wood dry before I sand?
Aim for one to two dry, sunny days after cleaning. If you have a meter, below 15% moisture is a safe mark.
What finish works best after I sand?
A penetrating oil with mildewcide or a quality water repellent works well. Apply to dry wood and maintain it every few years.
Is bleach safe for cedar?
Oxygen bleach or peroxide cleaners are safer for cedar than chlorine bleach. If you use any cleaner, follow labels and rinse well.
How often will I need to sand again?
With good cleaning and a maintained finish, you may not need to sand for many years. Light maintenance washes keep mildew from returning.
Conclusion
You now know how to sand off mildew from cedar shakes with a clean, safe, and proven method. Clean first to kill growth, sand lightly with the grain, and seal the fresh surface so it stays bright longer. Small, careful steps beat harsh shortcuts every time.
Set aside a weekend, gather the right tools, and try a test area. If this helped, share your results, subscribe for more practical guides, or drop a question so I can help with your next project.