
Clean, dry, repair, sand, prime, and mask before painting Hardie board.
If you want a smooth, long‑lasting finish, you must prep right. In this guide, I walk you through how to prep Hardie board for painting printable instructions. You will get a pro-grade checklist, step-by-step advice, and field-tested tips. I have prepped and painted fiber cement on remodels and new builds. Follow along, print the checklist, and feel confident from wash to final prime.
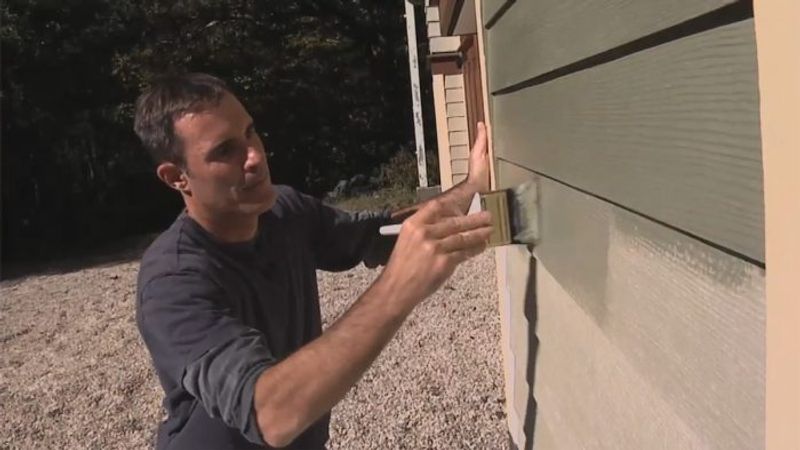
Why prep matters on Hardie board
Hardie board is fiber cement. It is strong and stable. But dust, chalk, and factory residue can block paint. Skipping prep can lead to early peel, flashing, or stains that bleed through.
Good prep does three big things:
- Removes dirt, oils, and chalk so paint sticks
- Seals gaps so water cannot sneak behind the siding
- Lays a smooth base so the topcoat looks even
Use this guide on how to prep Hardie board for painting printable instructions to set up your job for success. It works for old and new siding. It also fits small touch-ups or full repaints.
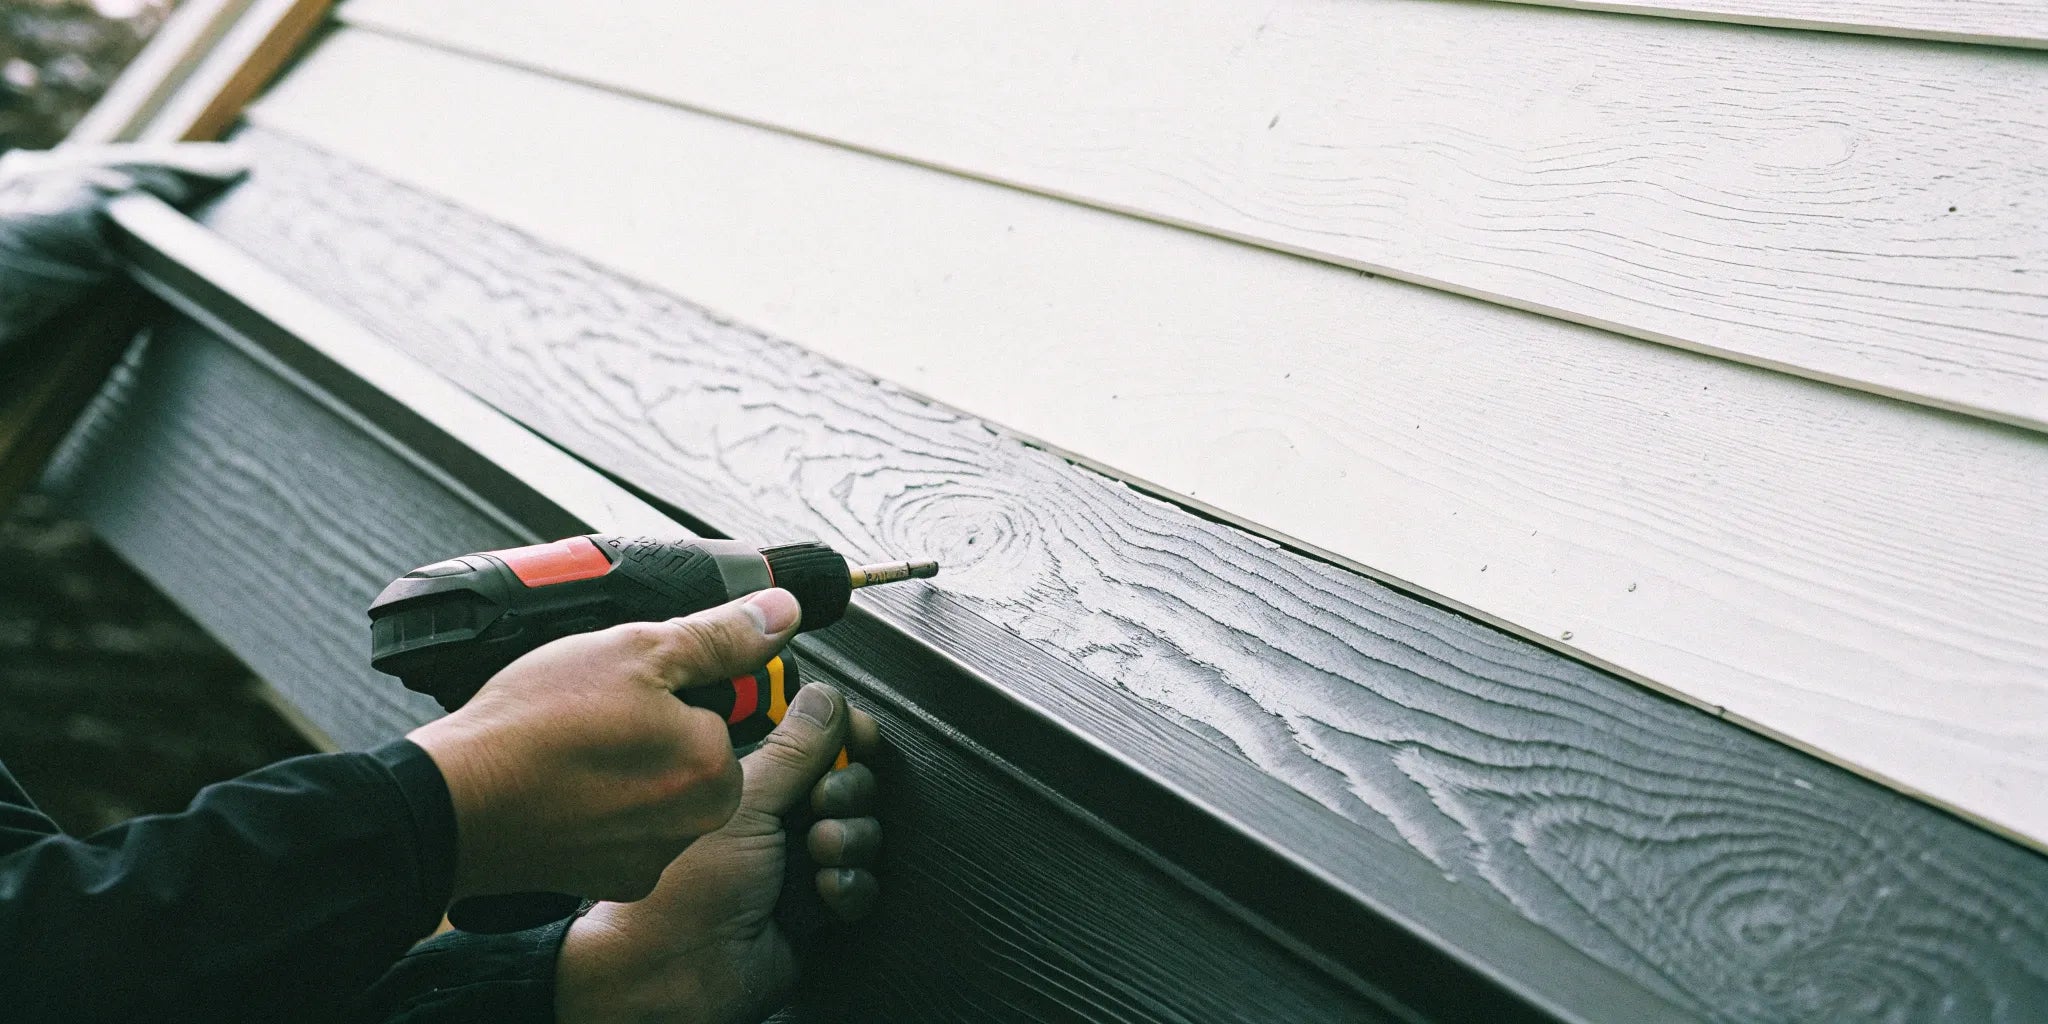
Tools and materials checklist
Gather your tools first. It saves time and stress.
- Garden hose with nozzle or a pressure washer set to low
- Mild cleaner, TSP substitute, or siding wash
- Mildew remover safe for siding
- Soft brush, microfiber cloths, non-scratch pads
- Caulk gun and paintable exterior sealant
- Exterior spackling or fiber cement patch
- 80–120 grit sanding sponge or pole sander
- Tack cloth or clean rags
- Alkali-resistant bonding primer for masonry/fiber cement
- High-quality exterior acrylic latex paint
- Masking paper, plastic sheeting, painter’s tape
- Drop cloths, ladders, and staging
- Moisture meter (handy but optional)
- PPE: gloves, goggles, N95 or better, hearing protection
Keep this list with your how to prep Hardie board for painting printable instructions so you do not miss a step.
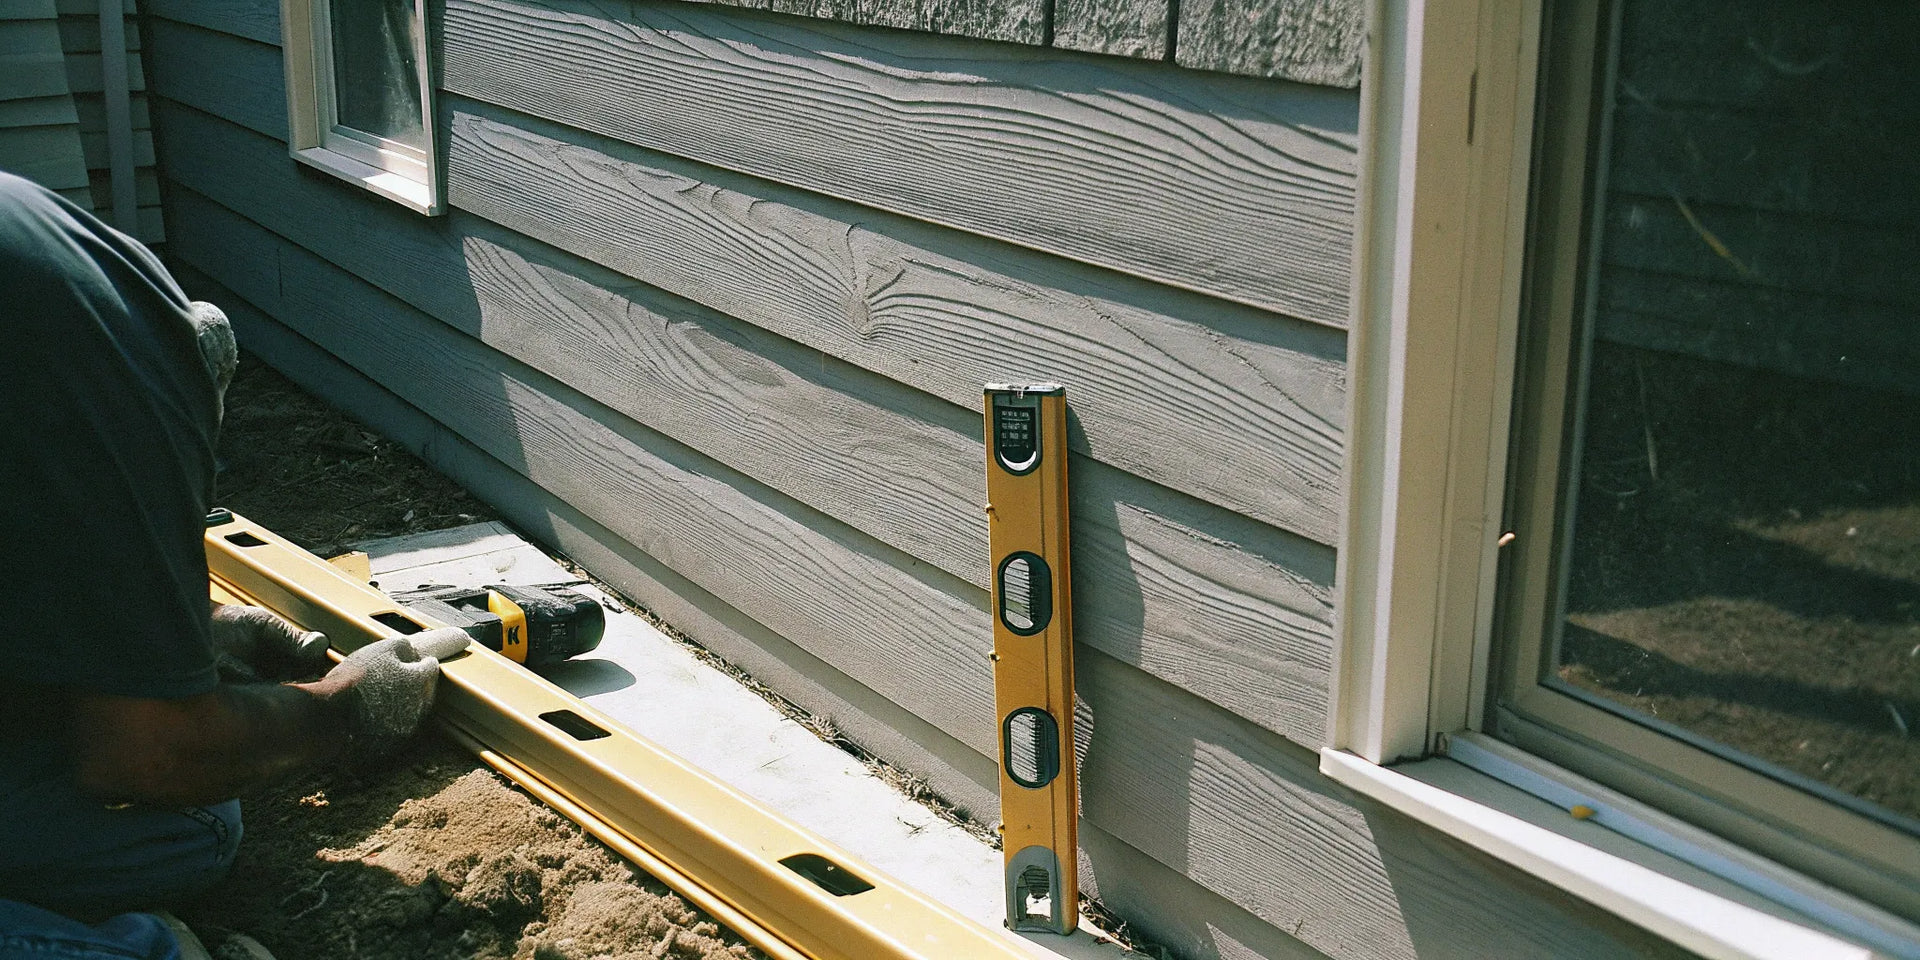
Step-by-step overview
Here is the quick flow before we dig into detail:
- Inspect the siding and trim. Note damage and gaps.
- Wash off dirt, dust, and mildew. Rinse well.
- Let it dry. Check moisture if you can.
- Repair holes and cracks. Caulk seams.
- Lightly sand rough spots. Remove dust.
- Prime bare areas or the whole wall as needed.
- Mask, protect, and stage for safe painting.
These are the core moves in how to prep Hardie board for painting printable instructions. Nail them, and painting feels easy.
Deep clean: remove dirt, chalk, and mildew
Dust and chalk block adhesion. Oils from hands or gutters do too. Clean first, or paint may fail.
- Rinse with a hose to loosen grime.
- Scrub with a siding-safe cleaner. Focus on streaks and high-touch spots.
- Treat mildew with a dedicated remover. Rinse well.
- For heavy chalk, wash twice. You should not see white residue on your hand when dry.
Keep pressure low if you use a pressure washer. Hold the wand at a safe angle. Do not blast up under laps. The goal is clean, not damage. This step is a key part of how to prep Hardie board for painting printable instructions.

Dry time and moisture checks
Paint hates moisture. Trapped water leads to blisters and peel.
- Let siding dry at least 24 hours after washing.
- If humidity is high, plan for 48 hours.
- Check shaded areas; they dry slower.
- A moisture meter is great. Aim for 12% or less if possible.
Be patient here. Many failures I have seen came from rushing this step in how to prep Hardie board for painting printable instructions.
Repairs, patching, and caulking
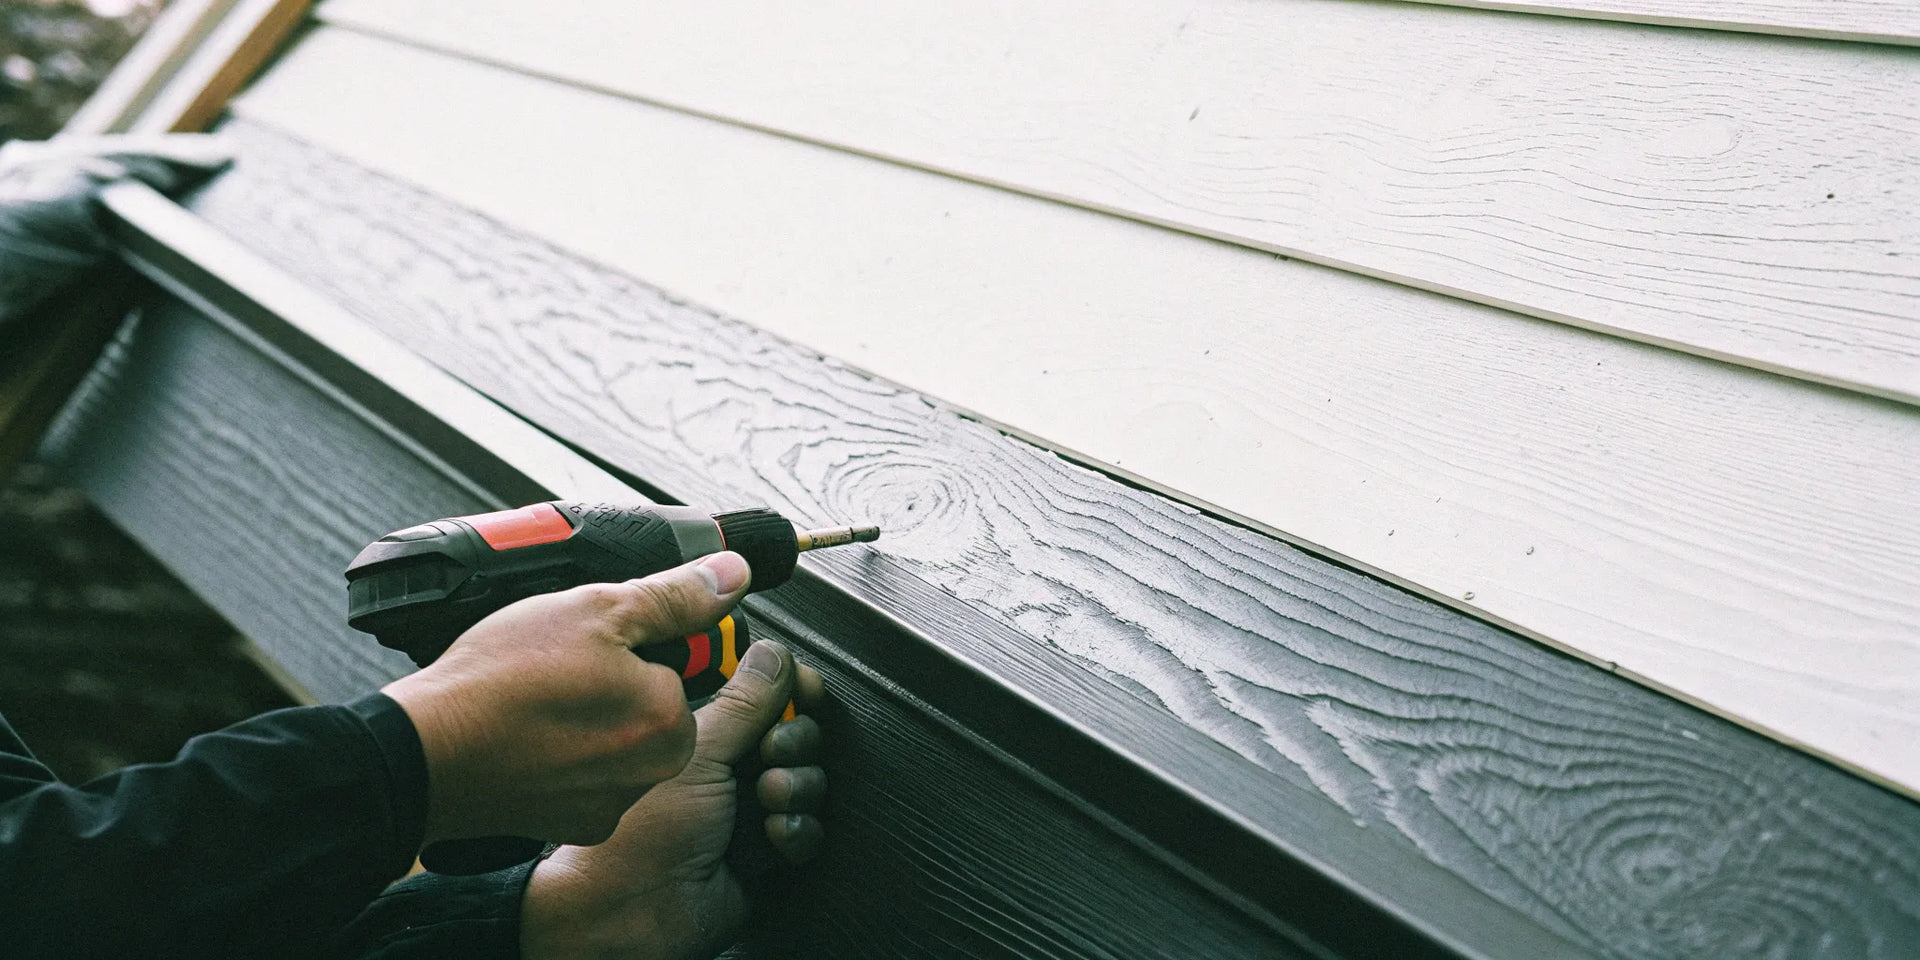
Look close at joints, nail heads, and trim cuts.
- Fill small holes with exterior filler rated for fiber cement.
- Sand patches smooth when cured.
- Caulk vertical joints, end cuts, and trim gaps with paintable exterior sealant.
- Do not caulk horizontal lap joints that need to drain.
Smooth beads with a wet finger or tool. Let sealant skin and cure per the label. Tight seams boost energy savings and block water. This repair pass belongs in every how to prep Hardie board for painting printable instructions set.

Sanding and dust control
A light scuff makes a big difference.
- Use 120 grit on glossy spots and patch edges.
- Knock down burrs at cut ends.
- Wipe dust with a damp cloth or tack cloth.
Wear a mask. Fiber cement dust is no joke. Keep dust out of primer and paint. Clean, dull, and dry are the three words to remember in how to prep Hardie board for painting printable instructions.
Prime the right way
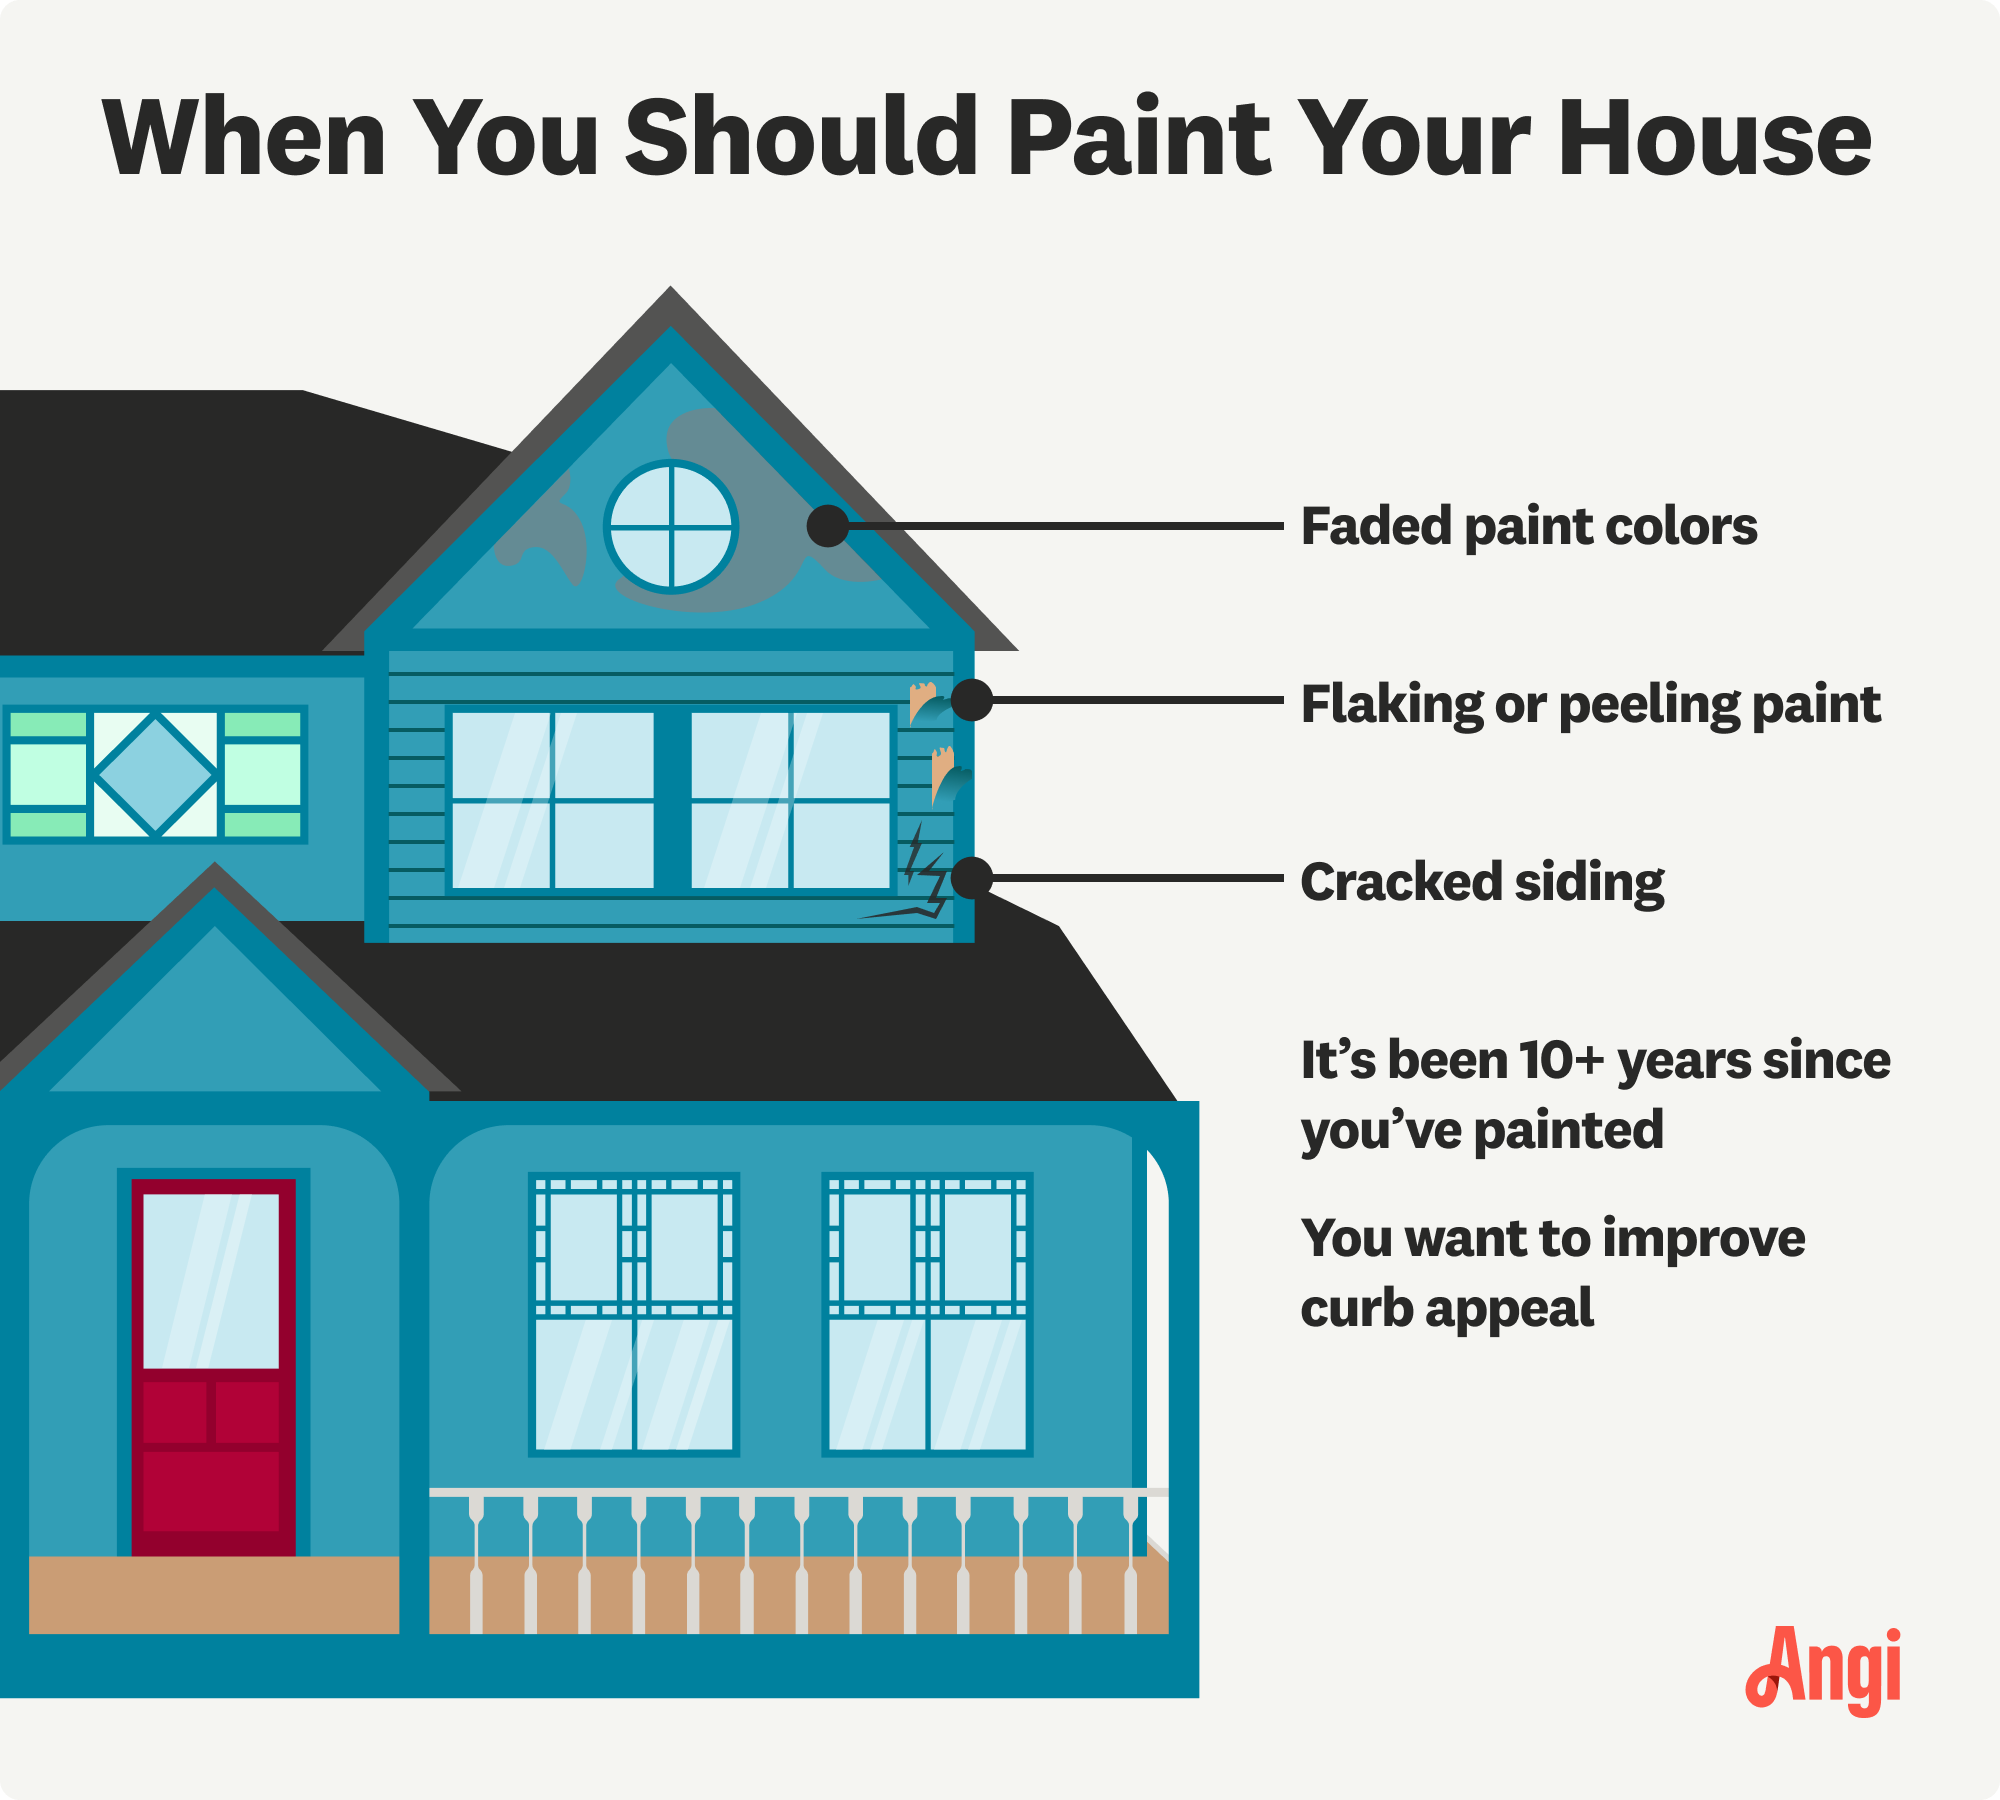
Primer is your bond and stain shield. Use the right type.
- Use an alkali-resistant masonry/fiber cement primer.
- Spot-prime bare patches and cut ends at a minimum.
- Prime the whole surface if chalking was heavy or sheen is uneven.
- Back-brush or back-roll to work primer into the texture.
Let primer dry as directed. Do not rush. Good primer makes topcoats lay flat and last long. It is central to how to prep Hardie board for painting printable instructions.
Masking, staging, and weather window
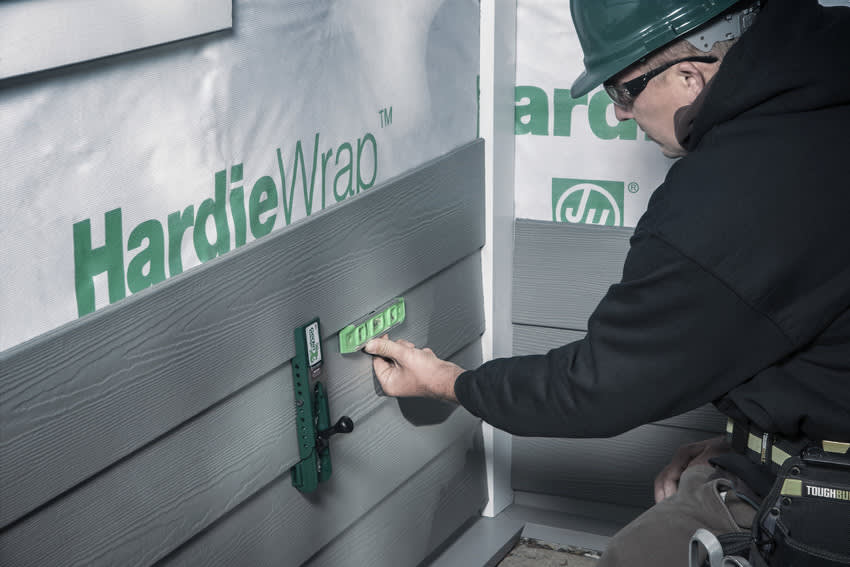
Neat edges and safe work matter.
- Mask windows, lights, and hardware with tape and paper.
- Protect plants and decks with drop cloths or plastic.
- Set ladders on level ground. Tie off when needed.
- Check weather: no rain in the forecast, temps 50–90°F, and watch dew point.
Paint and primer need time to cure. Wind and sun change dry times. A smart plan here saves rework and fits the spirit of how to prep Hardie board for painting printable instructions.
Printable instructions: one-page checklist
Print this and tape it to the garage wall or paint cart.
- Inspect siding and trim for damage and gaps.
- Wash with cleaner. Rinse well. Treat mildew.
- Let dry 24–48 hours. Check shaded sides.
- Patch holes. Sand smooth. Wipe dust.
- Caulk joints and trim seams. Do not block drains.
- Spot-prime bare areas and cut ends.
- Full-prime if chalking or uneven sheen.
- Mask windows, doors, and fixtures.
- Protect ground and plants. Set ladders safe.
- Confirm weather window and dew point.
- Stage tools, paint, and PPE within reach.
Keep this one-pager with your how to prep Hardie board for painting printable instructions.
Common mistakes and how to avoid them
- Skipping the wash. Paint clings to clean, not dirt.
- Using the wrong primer. Choose alkali-resistant for fiber cement.
- Caulking lap joints that must drain. That traps water.
- Painting too soon after rain or washing. Wait until dry.
- Over-pressure washing. It can scar boards and force water in.
These errors are common. I made some of them early in my career. Learn from my mess so you do not repeat it when you follow how to prep Hardie board for painting printable instructions.
Pro tips from the field
- Back-brush primer on textured boards. It locks in a smooth base.
- Pre-prime cut ends before you install trim or touch-up later.
- Use a angled sash brush for tight seams. It speeds work.
- Work in the shade when you can. Hot boards flash-dry paint.
- Keep a damp rag on your belt. Wipe drips right away.
These small habits add up. They help bring a flawless finish to your project and round out how to prep Hardie board for painting printable instructions.
After prep: paint timing and maintenance
- Apply two coats of high-quality exterior acrylic latex.
- Respect recoat times. Do not rush the second coat.
- Inspect yearly. Wash light dirt in spring.
- Touch up chips before winter.
Good maintenance keeps paint looking fresh for years. This close seals our loop on how to prep Hardie board for painting printable instructions.
Frequently Asked Questions of how to prep hardie board for painting printable instructions
Do I need to prime Hardie board every time?
Spot-prime bare areas and cut ends at a minimum. Full-prime if chalking is heavy, stains are present, or sheen is uneven.
What cleaner is safe for fiber cement siding?
Use a mild siding wash or a TSP substitute. Avoid harsh acids or strong bleach mixes that can harm finishes.
Can I pressure wash Hardie board before painting?
Yes, on low pressure with a wide fan tip. Keep the wand at an angle and do not drive water up under laps.
How long should Hardie board dry before primer?
At least 24 hours after washing in normal weather. In high humidity or cool temps, allow 48 hours.
What caulk should I use on seams and trim?
Use a high-quality, paintable exterior sealant. Do not caulk horizontal lap joints that are meant to drain.
Which primer works best on fiber cement?
Choose an alkali-resistant bonding primer rated for masonry or fiber cement. It improves adhesion and blocks stains.
Can I paint over factory-primed Hardie boards without sanding?
Clean and test adhesion first. Light scuff sanding helps if the sheen is slick or chalk remains.
Conclusion
Prep is the quiet hero of a great paint job. Clean well, dry fully, repair smart, sand light, prime right, and mask tight. Follow the steps in this guide on how to prep Hardie board for painting printable instructions, and your finish will look sharp and last.
Print the checklist, set your tools out, and start with a test wall. Share your results, ask questions, or subscribe for more pro-grade how-tos.