
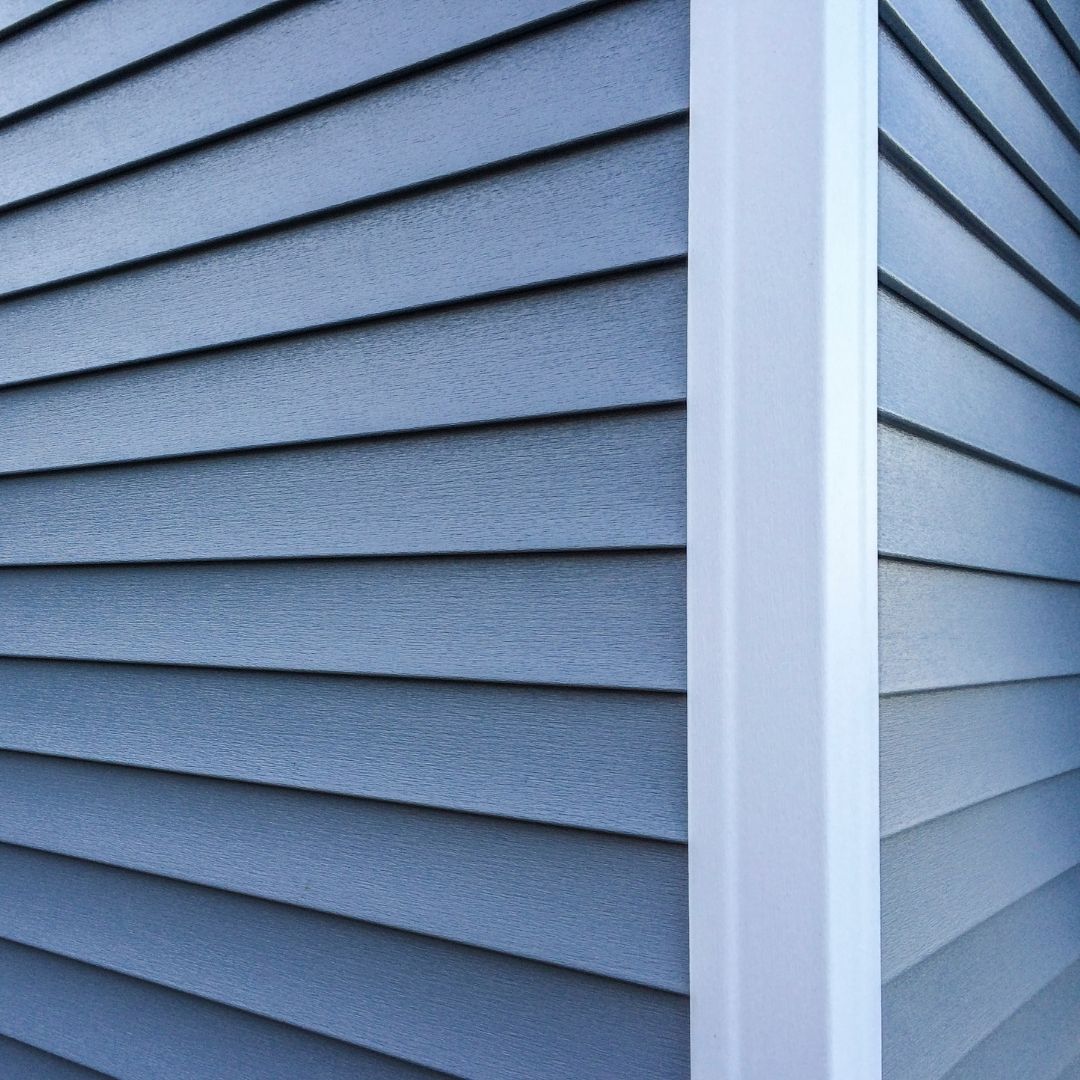
Clean, spot-repair, prime with acrylic primer, then apply two acrylic coats in mild weather.
If you want a smooth, long-lasting finish, you need more than a paint can. I’ve painted fiber cement on coastal homes, sun-baked ranches, and tight city lots. In this guide, I’ll show you how to paint hardie board the right way, with pro steps, product tips, and real-world tricks that save time and prevent callbacks. Read on before you open the lid.

What Is Hardie Board and Why Paint It
Hardie board is fiber cement siding made from cement, sand, and cellulose. It resists rot, pests, and fire. But the finish still weathers, chalks, and fades in sun and rain. New construction also ships as factory primed, so it needs topcoat soon after install.
Knowing how to paint hardie board helps you lock out moisture, protect edges, and keep curb appeal high. Good prep and paint selection can double the time between repaints. Done right, the coating looks crisp and stays tight at joints.
Tools, Materials, and Paint System That Lasts
You do not need fancy gear, but quality counts. Fiber cement is dense and a bit porous at edges. Use products that grip and flex.
Core materials I trust:
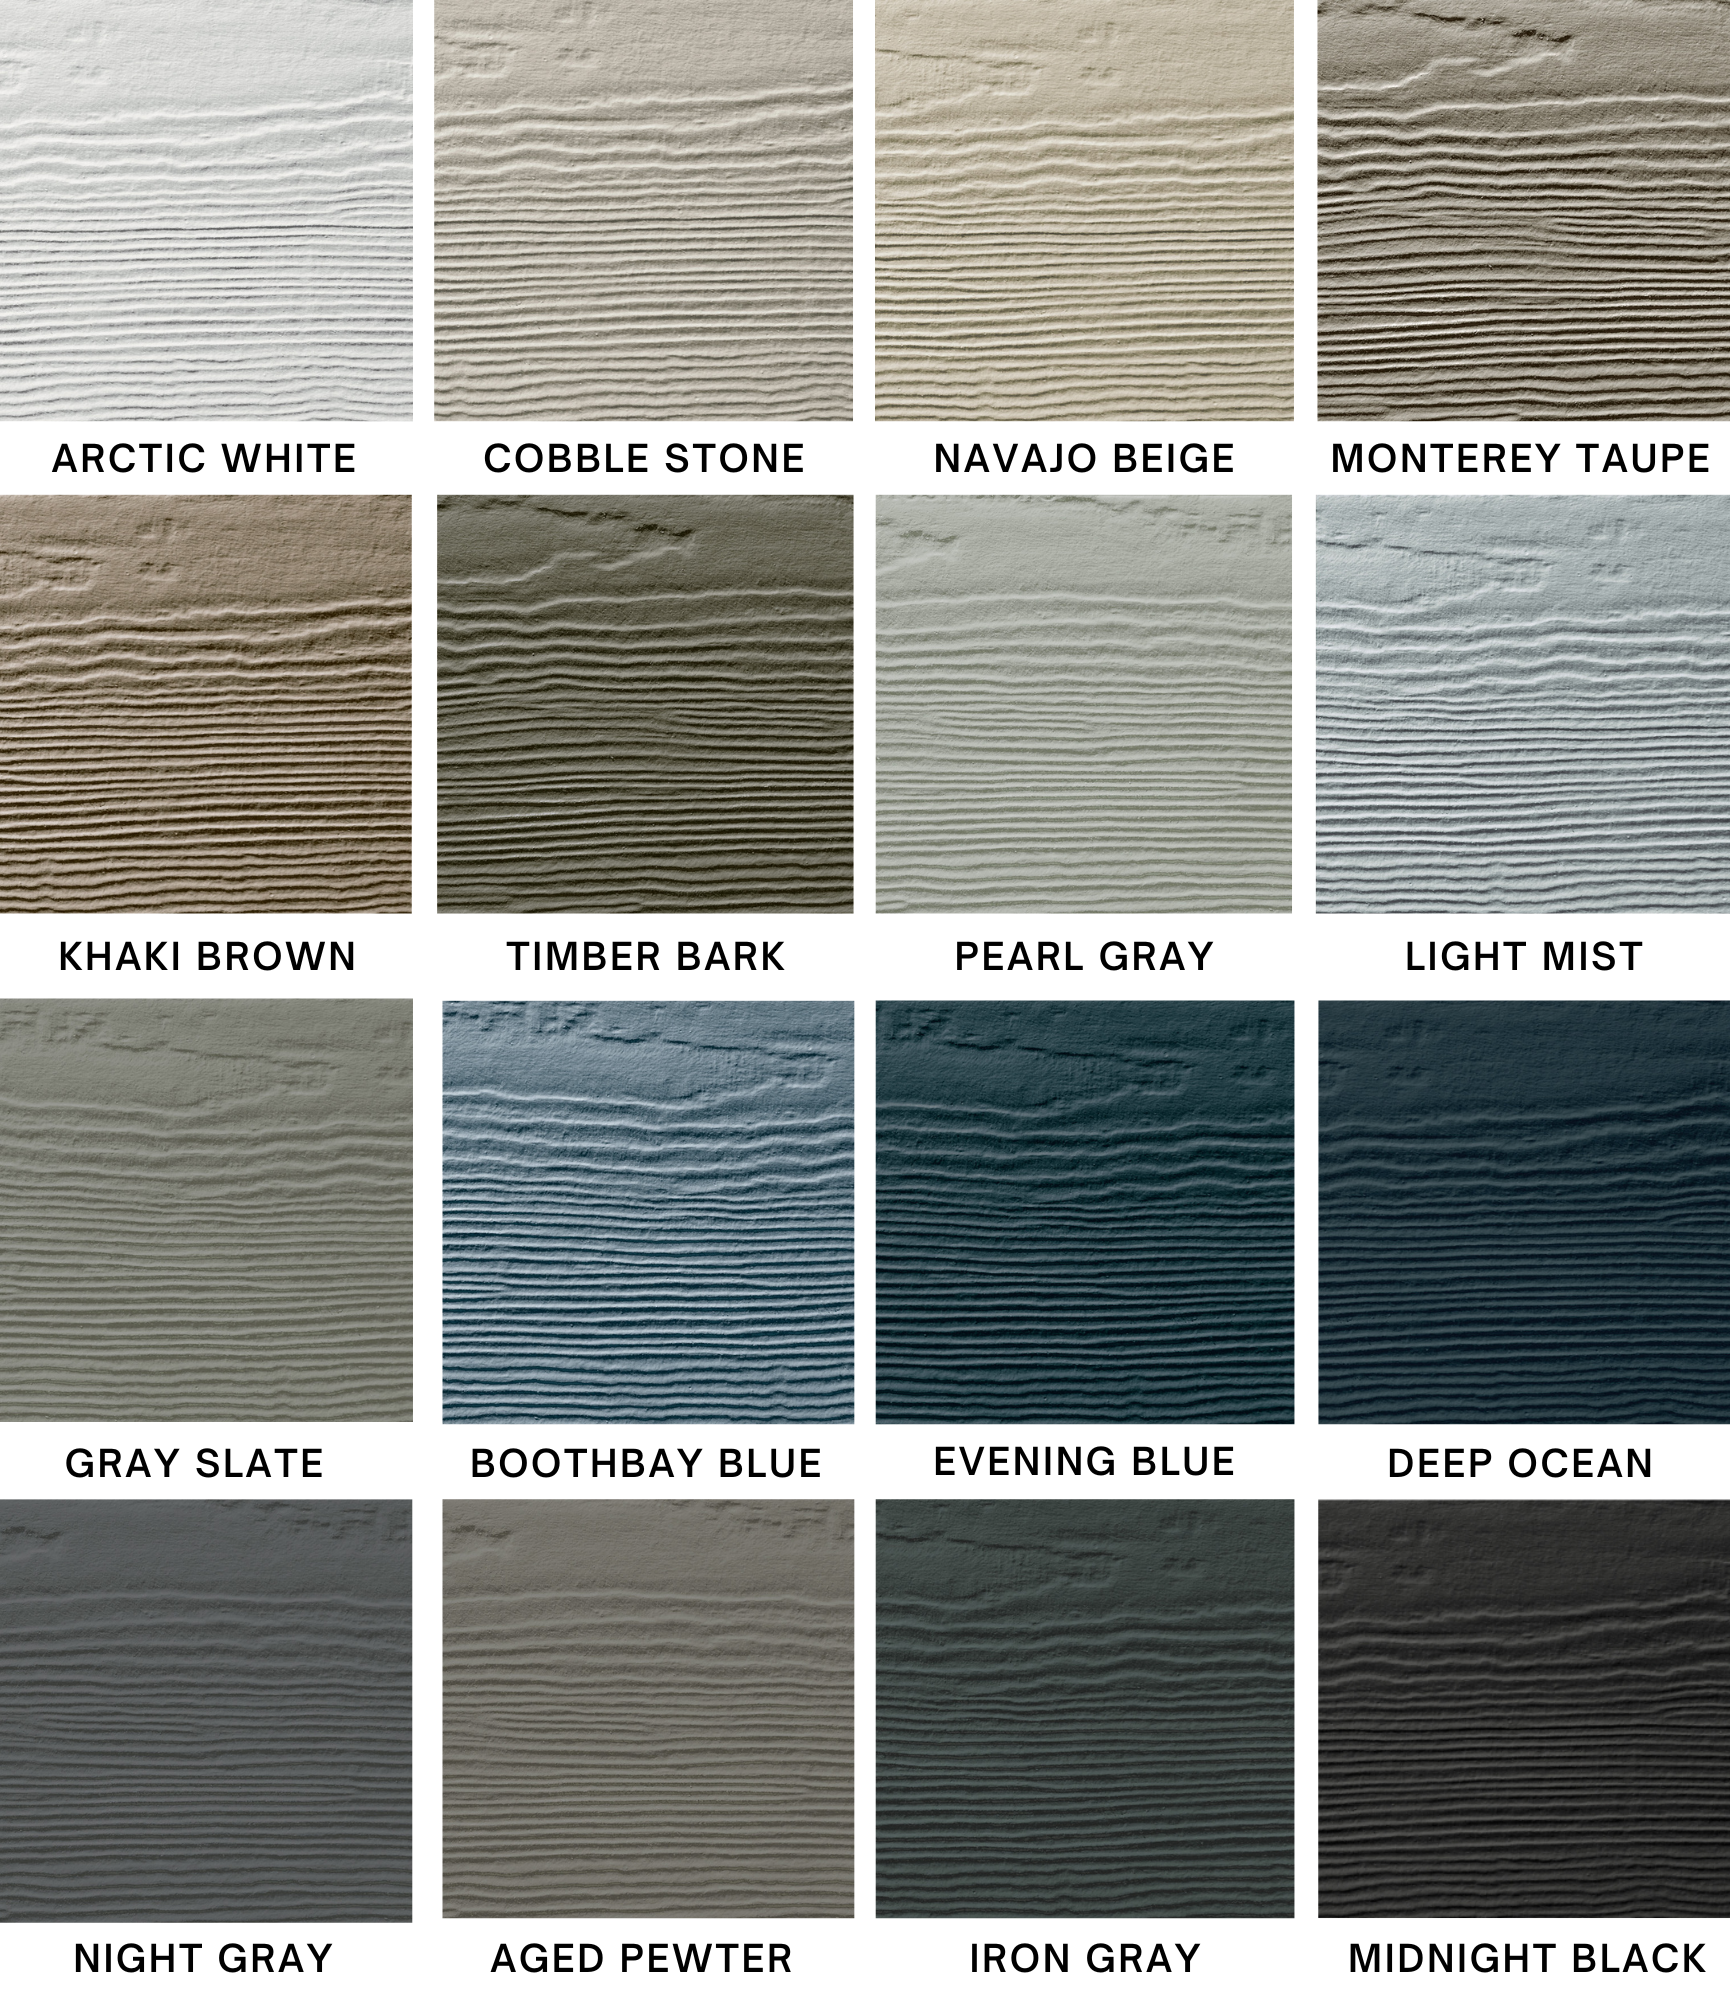
- Exterior acrylic primer labeled for masonry or fiber cement ensures adhesion and stain block.
- 100% acrylic exterior paint in satin or low-sheen resists dirt and UV better than flat.
- High-quality, paintable caulk for trim gaps. Use polyurethane or siliconized acrylic.
- Backer rod for wide gaps so the caulk has the right shape.
Helpful tools:
- Soft-bristle brush, garden hose, or a pressure washer on low to medium pressure.
- 9-inch roller frame with 3/8-inch to 1/2-inch covers, and a quality angled brush.
- Airless sprayer with a fine-finish tip if you want speed and uniformity.
- Masking film, tape, drop cloths, and a small scraper.
Know how to paint hardie board with this full system, and you get fewer surprises. A matched primer and topcoat from the same brand often leads to fewer warranty issues and better bonding.
Prep: Cleaning, Repairs, Masking, and Drying
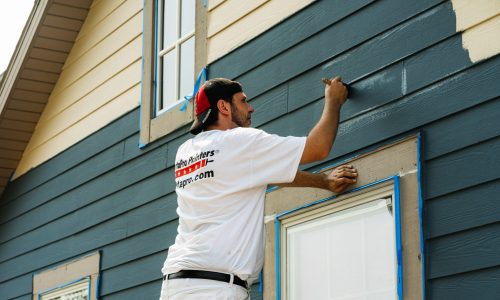
Clean first. Rinse dust and chalk with water and a soft brush. Add a mild cleaner if needed. Avoid harsh acids. Keep washer pressure moderate and hold the wand back to prevent water from driving behind laps.
Repair next. Replace cracked boards. For small chips, use exterior-grade filler rated for masonry. Sand only if you must, and keep dust down. Fiber cement contains silica, so avoid dry sanding.
Mask smart. Cover windows, plants, and fixtures. Pull soil and mulch back from the bottom edge so you can paint the drip line. Let the siding dry fully. If you wash in the morning, paint the next day for safety.
Strong prep is most of how to paint hardie board. Good cleaning and dry time make primer stick and paint lay flat.

Priming Hardie Board the Right Way
If your siding is factory primed and in good shape, you can usually go straight to paint. Spot-prime any bare edges, cut ends, or repairs. For older, chalky paint, prime to lock the surface and even out sheen.
Use an exterior acrylic primer made for masonry or fiber cement. These primers handle the cement’s alkalinity. Brush primer into cut edges and nail heads. Roll or spray large areas, then back-roll for uniform film.
Do not skip primer on repairs or bare board. It is the anchor for the topcoat. How to paint hardie board well starts with primer that seals edges where water tries to creep.
Step-by-Step: How to Paint Hardie Board Like a Pro
Follow this simple path for a clean, even finish.
- Wash and let dry. Confirm no damp spots remain.
- Fix damage. Fill small chips and sand flush if needed.
- Mask and protect. Tape trim lines, lights, and decks.
- Prime edges and repairs. Use acrylic primer as noted above.
- Caulk only where approved. Seal trim-to-siding joints and penetrations.
- First coat of 100% acrylic. Spray and back-roll, or roll and tip off with a brush.
- Let it cure per the label. Usually a few hours in mild weather.
- Second coat for full color and film build. Keep a wet edge to avoid lap marks.
- Pull tape while paint is tacky. Check for misses and touch up.
This is the most reliable way for how to paint hardie board without streaks or early peeling. Two coats build proper thickness and even color.
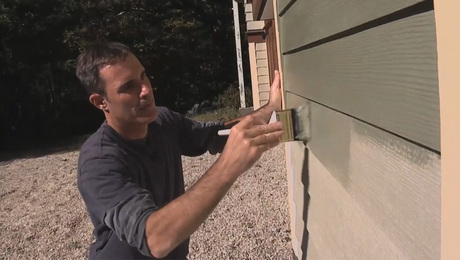
Application Methods: Brush, Roll, or Spray
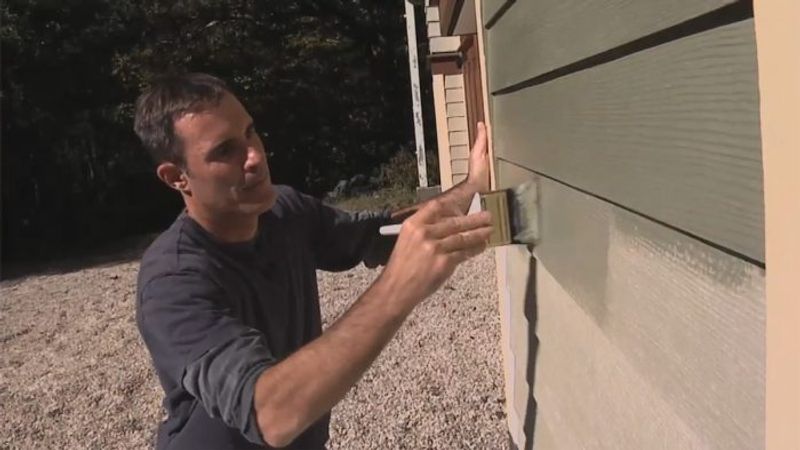
Brush and roll is simple. Use a 3/8-inch to 1/2-inch roller on the faces, then tip with a brush on edges and laps. Work in small sections. Keep a wet edge.
Spray and back-roll is fast on big walls. It lays a uniform coat and pushes paint into the texture. Spray a pass, then roll it in right away. Back-rolling evens film and boosts grip.
If you must choose, roll the first coat and spray the second for speed. No matter the method, how to paint hardie board right means even coverage and careful edge work.

Weather, Timing, and Coverage Rules
Aim for cool shade and dry air. Most acrylics like 35–90°F, low wind, and no rain for 24 hours. Avoid hot sun on dark colors. Hot boards flash-dry and leave lap lines.
Watch dew points. If dew is due before cure, stop early. Typical coverage is 250–400 square feet per gallon per coat, but textured boards need more. Dark colors often need a third pass for full hide.
Plan walls so you end at natural breaks. This keeps color and sheen even. Weather sense is a quiet secret of how to paint hardie board and get pro results.

ColorPlus vs Primed Boards: Do This, Not That
ColorPlus is the factory finish. If it is sound, you do not have to paint it. If you choose to repaint, clean well and scuff only if needed. Use 100% acrylic topcoat. Check the finish warranty before you coat.
On factory-primed boards, topcoat soon after install. Prime any field cuts. Seal trim joints, but do not caulk horizontal lap joints. Use joint flashing behind butt joints as designed.
Know your substrate, and you will know how to paint hardie board without voiding warranties. When in doubt, follow the manufacturer’s written guide.

Maintenance, Touch-Ups, and Recoat Cycles
Inspect once a year. Look at sunny walls, bottom edges, and trim joints. Clean with a soft brush to remove dirt and mildew. Small chips get spot-primed and touched up right away.
Expect 8–12 years from a good acrylic system in most climates. Harsh sun or sea air may shorten that. Keep sprinklers off the siding and soil pulled back. These tiny habits stretch the life of your paint.
Good maintenance is part of how to paint hardie board and protect your home’s envelope. A little care beats a full repaint.
Common Mistakes to Avoid and Pro Fixes
Skipping wash and primer leads to early peel. Fix by cleaning and spot-priming at least. Painting in direct sun causes lap marks. Work the shady side and keep a wet edge.
Caulking the wrong joints traps water. Do not caulk horizontal laps or weep edges. Over-pressuring with a washer drives water behind boards. Keep distance and use a wide fan tip.
Ignoring cut edges invites moisture. Prime every cut. These fixes are the backbone of how to paint hardie board with fewer callbacks.
Safety, Compliance, and Warranty Notes
Wear eye and skin protection. Use a respirator if you sand or spray. Silica dust is a real hazard when cutting fiber cement, so avoid dry sanding. If you must sand cured paint, do it wet or with HEPA vacs.
On homes built before 1978, follow lead-safe rules when disturbing old coatings. Keep records of products used, batch numbers, and dates. Read labels and the manufacturer’s finishing guide before you start.
A careful process keeps you safe and keeps warranties intact. Safety and documentation also show clients you know how to paint hardie board the professional way.
Frequently Asked Questions of how to paint hardie board
Do I need to prime hardie board before painting?
Prime bare fiber cement, cut edges, and repairs. If the factory primer or ColorPlus finish is sound, you can often skip full-field primer and spot-prime only.
What paint is best for hardie board?
Use a high-quality 100% acrylic exterior paint. Satin or low-sheen finishes balance washability, UV resistance, and a clean look.
Can I pressure wash hardie board before painting?
Yes, but keep pressure moderate and the wand at a safe distance. Use a wide fan tip and avoid forcing water behind laps and joints.
How long should I wait between coats?
Follow the label, but most acrylics need 2–4 hours in mild, dry weather. Cool or humid days may need more time.
Should I caulk the horizontal lap joints?
No. Do not caulk horizontal laps or the bottom weep edge. Only caulk approved trim-to-siding gaps and around penetrations.
Conclusion
You now have a clear, field-tested plan to prep, prime, and paint fiber cement. Choose the right system, watch the weather, and build two even coats. Focus on edges, joints, and a wet edge, and the results will show.
Start with one wall today and follow the steps above. If you want more pro tips or a printable checklist, subscribe or drop a question in the comments.