
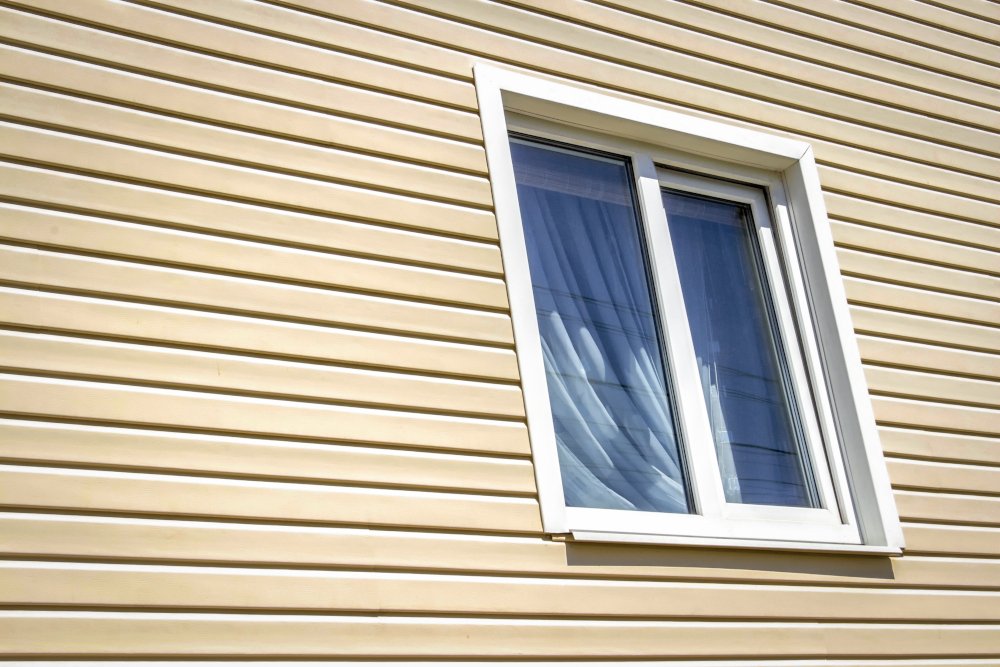
You can replace a window from the exterior using a retrofit insert and careful flashing.
I’ve replaced many windows without removing siding and will show you a clear, safe way to do it. This guide on how to replace a window without removing the siding explains tools, step-by-step methods, flashing tips, and when to call a pro. Read on for expert, practical advice you can trust.

Why replace a window without removing the siding?
Replacing a window without removing the siding saves time, lowers cost, and avoids disturbing landscaping or trim. It also keeps the siding intact and limits dust and mess in the home. Knowing how to replace a window without removing the siding helps homeowners choose retrofit or pocket-install methods that fit most siding types.
Many remodelers prefer retrofit inserts for vinyl or wood siding. These inserts fit into the existing opening and need less carpentry. I use retrofit inserts when the frame is sound and the siding is in good shape. This reduces work and risk of damage.
 replacement methods that avoid removing siding”
style=”max-width: 100%; height: auto; border: 2px solid black; border-radius: 10px; display: block; margin: 0 auto;”
loading=”lazy”
/>
Types of replacement methods that avoid removing siding
Understanding options helps you pick the right method. Here are the main ways to replace a window without removing the siding.
- Retrofit insert
- Fits inside the existing frame. Works when the old frame stays intact.
- Pocket or jamb replacement
- Remove only interior stops and part of the jamb. Exterior siding stays.
- Exterior flange modification
- For some new windows, you can use the flange that fits over the siding without removing it.
- Full frame with partial siding cut
- Cut a small reveal in siding to tuck new flashing under. This is minimal siding removal, not full removal.
Each method has pros and cons based on the siding type and frame condition. If the old frame is rotted or warped, full frame replacement may still be needed. But often, you can learn how to replace a window without removing the siding and get great results.

Types of windows and siding compatibility
Different windows and siding materials change what’s possible.
- Vinyl siding
- Retrofit inserts and flange-mounted windows work well with vinyl. You can often slide new flashing behind the siding’s top edge.
- Wood siding
- Pocket replacements and careful flashing work. Avoid heavy nailing or prying that cracks boards.
- Fiber cement siding
- Stiff material needs precise cuts to tuck flashing. Use corrosion-resistant fasteners.
- Brick or masonry veneer
- Use a flange or brickmold that sits over the face. Masonry often needs special sealants.
When you plan how to replace a window without removing the siding, match the method to the siding. I once replaced a kitchen window on a home with fiber cement. I used a retrofit and custom flashing. It took patience but kept the siding intact.

Tools and materials you'll need
Gather everything before you start. This prevents delays and mistakes.
- Tools
- Utility knife, pry bar, caulk gun, drill, reciprocating saw, screwdrivers, tape measure, level, shims, putty knife.
- Materials
- New retrofit window or replacement block, low-expansion foam, exterior caulk (silicone or polyurethane), flashing tape, aluminum or butyl flashing, stainless steel screws, drip cap.
- Safety gear
- Gloves, safety glasses, dust mask, ladder stabilizer.
Get window-specific instructions from the manufacturer. Learning how to replace a window without removing the siding means picking the right parts and the right flashings.

Step-by-step: how to replace a window without removing the siding
This step-by-step assumes a retrofit insert or pocket replacement where the exterior siding stays in place.
- Prepare the work area
- Clear the interior and exterior work zone. Lay drop cloths. Set ladders or scaffolding safely.
- Inspect the existing frame
- Check for rot, mold, or structural issues. If the jamb is bad, you may need a full frame job.
- Remove interior stops and trim
- Gently pry off stops and remove the sash. Label parts if you plan to reuse them.
- Measure the rough opening
- Measure height, width, and depth in three places. Use the smallest measurement for the new insert.
- Dry-fit the new window
- Test fit the retrofit unit. Check that it sits square and plumb. Make small adjustments with shims.
- Install flashing behind siding (if possible)
- Carefully slide self-adhesive flashing under the top course of siding just above the window. This diverts water.
- Set the window
- Apply a bead of exterior caulk on the back of the new window flange or on the jamb. Place the window and press it into position.
- Shim and level
- Use shims top and bottom and at jambs until the window is square. Check with a level.
- Fasten per manufacturer specs
- Use screws through the frame at recommended intervals. Avoid over-tightening, which can warp frames.
- Seal and insulate
- Use low-expansion foam to fill gaps. Trim excess foam after it cures. Apply exterior flashing tape around the perimeter.
- Reinstall stops and trim
- Replace interior stops. Add new exterior trim or caulk as needed to seal visible seams.
- Finish details
- Install drip cap above the window. Clean glass and make final caulking checks.
Following these steps shows a clear path for how to replace a window without removing the siding. Take time at each stage to check squareness and sealing.

Flashing, sealing, and waterproofing tips
A well-flashed window keeps water out. These tips help you avoid leaks.
- Work from bottom to top
- Install sill flashing first, then side flashing, then head flashing. Overlap layers like shingles.
- Use high-quality flashing tape
- Choose tape rated for windows and compatible with siding material.
- Backer and caulk
- Use backer rod for wide gaps and premium exterior caulk on seams.
- Tuck flashing under siding
- When you know how to replace a window without removing the siding, sliding the top flashing under the siding helps shed water.
- Test for leaks
- Spray the window with a hose after installation to check for leaks before closing walls.
Waterproofing is more important than cosmetic trim. I once fixed a leak that stemmed from a poorly overlapped tape. A small fix then saved a major repair later.
Common problems and how to fix them
Many issues are avoidable with planning.
- Window not square
- Re-shim and recheck level. Small gaps cause large air leaks.
- Drafts after install
- Add low-expansion foam or replace old caulk. Check interior stops.
- Siding gap or bulge
- Replace or repair the local siding board. Use trim to hide small seams.
- Flashing tape failure
- Remove old tape, clean surface, reapply compatible tape. Ensure dry, clean surfaces.
- Water infiltration
- Find the leak with a hose test. Check head flashing and tape overlaps.
Knowing how to replace a window without removing the siding means preparing for these problems and fixing them fast.

Cost, time, and when to call a pro
Costs vary by method. A retrofit replacement is cheaper than full-frame work.
- Typical costs
- DIY retrofit window materials may range from a few hundred to a thousand dollars. Labor from a pro can add $300–$800 per window or more, depending on location and complexity.
- Time
- One retrofit window can take a skilled DIYer 3–6 hours. More complex installs take a day or two.
- When to hire a pro
- Call a pro if the frame shows rot, if flashing overlaps are complex, or if local codes require specific installations.
- Permits
- Check local codes. Some areas require permits for window replacements.
I once started a DIY job and stopped when I found hidden rot. Calling a pro saved time and prevented a poor repair. If you feel unsure about how to replace a window without removing the siding, hiring a pro is smart.

Personal experience and lessons learned
I’ve replaced many windows without removing siding. Here are practical lessons I learned.
- Take extra time measuring. One bad measurement costs hours.
- Always dry-fit. This shows hidden problems before they become costly.
- Flashing is not optional. Skipping it led to a leak once that took months to find.
- Use the right foam. High-expansion foam can warp frames; low-expansion foam is safer.
- Label parts. Interior stops and sash can be reused if you keep parts organized.
These tips come from real jobs. They reflect the small choices that make a big difference when you learn how to replace a window without removing the siding.
Related concepts and next steps
When planning a window project, consider these items.
- Energy efficiency
- Upgrading to double- or triple-pane windows can cut energy bills.
- Trim and paint
- New trim can refresh the home’s look without siding removal.
- Inspections
- Check for rot before you buy a window. It saves returns and rework.
- Warranty and code compliance
- Follow manufacturer instructions to keep warranties valid and meet code.
Learning how to replace a window without removing the siding opens options that save time, money, and hassle.
Frequently Asked Questions of how to replace a window without removing the siding
Can every window be replaced without removing the siding?
Most windows can be replaced using retrofit inserts or pocket methods if the frame and jamb are sound. If the frame is rotten or the opening is damaged, full-frame removal might be needed.
Will sliding flashing under siding damage the siding?
When done carefully, sliding thin self-adhesive flashing under the siding edge does not damage it. Use a flat tool and work slowly to avoid bending or cracking the siding.
How long does a retrofit window installation take?
A typical retrofit installation for one window takes a skilled DIYer 3 to 6 hours, including prep, flashing, and sealing. Complex sites can take longer.
Do I need a permit to replace a window without removing siding?
Permit rules vary by location and project scope. Small retrofit jobs often do not require permits, but check local building codes to be sure.
What if I find rot behind the frame?
If you find rot, stop and assess the damage. Often you will need to replace the frame or do targeted carpentry repairs. Calling a pro is wise if structural issues are present.
Conclusion
Replacing a window without removing the siding is often practical and cost-effective. Focus on proper measurement, correct flashing, and gentle handling of siding. Use retrofit inserts when the frame is sound, and choose pocket or flange options based on your siding type. If you hit rot or complex flashing needs, bring in a pro to avoid costly mistakes. Try one small window first to build confidence, then move to larger projects. Share your experience, ask questions, or subscribe for more guides and tips on home repairs.