
Attach cedar trim by fastening through to solid framing, not the vinyl, with flashing and a rainscreen.
You want a clean, craftsman look without wrecking your siding or trapping water. I’ve installed cedar on dozens of exteriors, and I’ll walk you through how to attach cedar trim to vinal siding the right way. We will cover structure, moisture, and finish so your trim lasts. Follow along for pro tips, common mistakes, and a step-by-step plan anyone can use.

Key principles before you start
Vinyl siding moves. Cedar moves too. If you fasten cedar to the vinyl, you crush the siding and invite leaks. Always fasten to solid backing such as sheathing or studs.
Water is the boss. Cedar must shed water and dry fast. That means flashing above, a drainage gap behind, and smart caulking, not wall-to-wall sealant.
Hardware matters. Use stainless steel or hot-dipped galvanized fasteners. Cedar is acidic. Cheap nails stain and fail. When learning how to attach cedar trim to vinal siding, this single rule saves projects.
I follow manufacturer instructions and code best practices. They stress drainage, proper flashing, and secure fastening. Do the same and your trim will last.
Tools and materials
You do not need fancy gear. You need the right pieces used the right way.
Materials
- Cedar boards or prebuilt trim blocks
- Stainless steel trim screws or ring-shank nails
- Self-adhered flashing tape and metal Z-flashing or drip cap
- PVC or cedar mounting blocks and furring strips
- Housewrap tape and butyl or polyurethane sealant
- Primer or penetrating oil, exterior stain or paint
- Plastic spacers or rainscreen strips
Tools
- Oscillating tool or zip tool to unlock vinyl
- Circular saw and miter saw
- Stud finder and level
- Drill and countersink bits
- J-roller for flashing tape
- Caulk gun and paintbrush
Tip from the field: lay everything out first. Dry-fit parts before you cut the siding. This keeps the pace smooth when you start how to attach cedar trim to vinal siding and avoids overcuts you cannot hide.

Step-by-step: how to attach cedar trim to vinal siding
I’ll show the most common setup: adding cedar trim around a door or as accent boards on a wall. The goal is to anchor to structure, not the vinyl, and keep a drainage path.
- Plan the layout
- Mark stud locations with tape. Use a stud finder and confirm with small pilot holes in joints.
- Sketch the trim sizes and joints. Leave 1/8 inch gaps at end-to-end splices.
- Quick answer to a common worry: can you screw cedar right through vinyl? No. You must tie into sheathing or framing.
- Pre-finish the cedar
- Seal all sides and end grain before install. One coat of oil primer or penetrating oil helps.
- I stain ends twice. End grain drinks finish. This reduces cupping and water stains.
- Create a solid backing
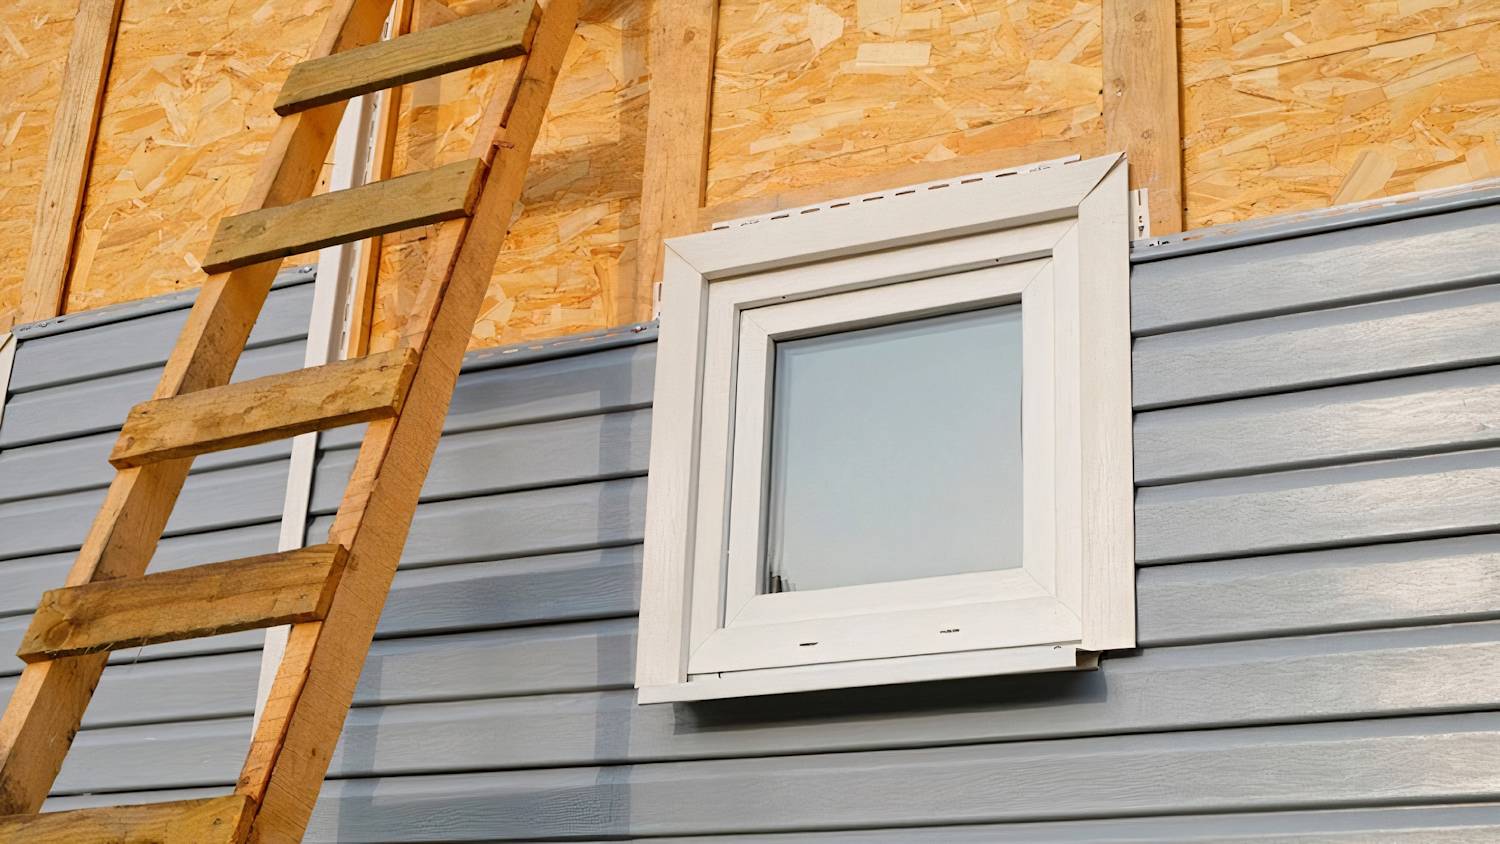
- Unlock and lift the vinyl where trim will sit. Use a zip tool. Cut clean lines if needed.
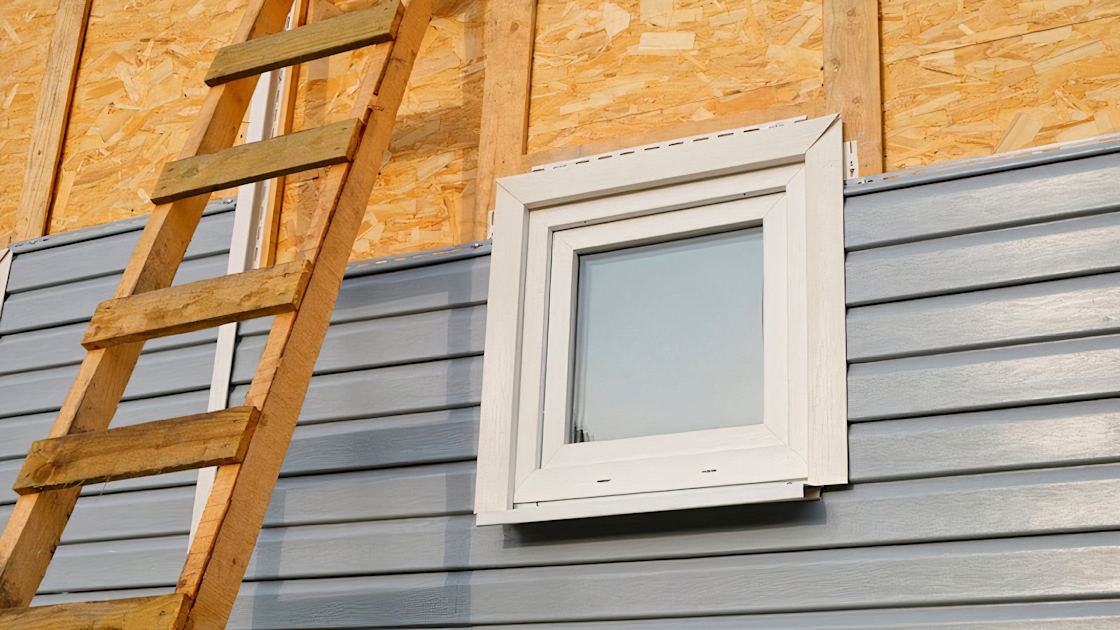
- Add furring or a flat mounting block that ties into studs. Flash the top with metal Z-flashing tucked under the course above. Tape the top edge of the flashing to housewrap.
- Refit the vinyl tight to the new block with J-channel if needed. Now you have a flush, stable surface.
- Add a rainscreen gap
- Place 1/4 to 3/8 inch plastic spacers behind cedar, over the mounting block. This lets water drain.
- Vent the bottom. Do not seal the lower edge shut.
- Flashing and sealing
- Self-adhered flashing tape goes behind the cedar at the top and wraps sides as needed.
- Metal Z-flashing sits above horizontal trim. The vertical leg tucks behind the vinyl course above.
- Fasten the cedar
- Pre-drill near ends. Cedar splits fast when dry.
- Use stainless trim screws or ring-shank nails. Sink into studs at least 1.5 inches. Never overdrive.
- Leave small gaps at joints. Use scarf joints on long runs for a clean look.
- Smart caulking
- Caulk top and vertical sides where trim meets J-channel or block. Leave the bottom unsealed for drainage.
- Use a high-quality sealant that stays flexible.
- Final finish
- Touch up cut ends and fastener heads.
- Apply a second coat of stain or paint once dry.
This is how to attach cedar trim to vinal siding without crushing panels or trapping water. Take your time with flashing and layout. The siding will look factory, and the cedar will breathe.

Moisture, movement, and durability best practices
Water is sneaky. Assume it will get behind the trim. Give it a path out. That is why the rainscreen gap and Z-flashing matter most.
Vinyl expands and contracts. Cedar does too. Do not lock pieces tight. Leave small gaps and use flexible sealants. Pre-finish all sides so moisture change is slow and even.
Use stainless fasteners. Cedar and cheap steel react and leave black streaks. I have gone back to jobs where plain nails failed in two winters. Stainless looks the same five years later.
If you wonder how to attach cedar trim to vinal siding in a high-rain zone, double up on flashing details. Lap top over bottom. Always shingle-style. Water should always see daylight.

Real-world examples and pro tips
On a coastal home, we added 1×4 cedar trim to break up a long vinyl wall. We set 3/8 inch spacers, flashed the top, and hit studs with stainless screws. Five years later, zero cupping, clean stain lines, and no leaks.
On a cold-climate remodel, we removed one course of vinyl, set a wide mounting block, then installed thick cedar headers. Cutting clean, square openings made the trim look built-in. The key lesson when learning how to attach cedar trim to vinal siding is to make your backing block dead flat. Cedar mirrors what is behind it.
Fast fixes that help:
- Back-prime end cuts on the spot.
- Keep the bottom edge open for drainage.
- Use color-matched J-channel where the vinyl meets the block.
- Check every fastener for bite into structure before moving on.
Common mistakes to avoid
Do not fasten into vinyl only. It will flex, squeak, and leak.
Do not skip Z-flashing over horizontal trim. Water will sit and soak the cedar.
Do not caulk the bottom edge shut. Trapped water will stain and rot the board.
Do not mix fasteners. One rusty nail will bleed across clean cedar.
Do not ignore movement. Tight seams will crush and crack. When sorting how to attach cedar trim to vinal siding, small gaps and flexible sealants are your friends.

Cost, time, and skill level
Budget for quality cedar, flashing, and stainless fasteners. A small accent project can be under a few hundred dollars. Larger trim packages can run more.
Most DIYers can finish a single opening in a weekend. Pros move faster, but they follow the same steps. If the wall is wavy or the siding is brittle, plan more time. That is normal when you get into how to attach cedar trim to vinal siding on older homes.

Troubleshooting and maintenance
If the trim cups, add more fasteners into studs and improve finish on the sunny side. Add shade during curing if needed.
If you see black streaks, replace non-stainless fasteners and clean with an oxalic solution. Rinse well and refinish.
If water stains appear, check flashing laps and the open bottom edge. Clear any blocked drainage. The fix is usually simple when you followed the install steps for how to attach cedar trim to vinal siding.
Annual checklist:
- Wash dust and pollen off the cedar.
- Touch up end grains and fastener heads.
- Check sealant and flashing for gaps.
Safety and code notes
Wear eye protection and a mask when cutting cedar. Use blades with dust collection if you can.
Follow ladder safety. Most trim sits up high. Secure footing saves days, not seconds.
Local codes may address flashing, housewrap laps, and fasteners near coastal zones. Manufacturer instructions and codes agree on one thing: fasten to structure and flash to shed water. That is the core of how to attach cedar trim to vinal siding the right way.
Frequently Asked Questions of how to attach cedar trim to vinal siding
Can I screw cedar trim directly into vinyl siding?
No. Vinyl is not structural and will crack. Fasten cedar through to studs or solid sheathing with stainless fasteners.
What fasteners should I use for cedar trim over vinyl?
Use stainless steel trim screws or ring-shank nails. They resist staining and hold tight in changing weather.
Do I need flashing over horizontal cedar trim?
Yes. Install metal Z-flashing above horizontal trim and tape the top edge. This keeps water from soaking the board.
Should I caulk all edges of the cedar trim?
Caulk the top and sides, but leave the bottom open. This allows any water to drain and the wall to dry.
How much gap should I leave for movement in cedar joints?
Leave about 1/8 inch at end-to-end splices. Pre-finish edges and use flexible sealant where needed.
Conclusion
You can get a clean, long-lasting look when you anchor cedar to structure, manage water with flashing, and let the wall breathe. That is the heart of how to attach cedar trim to vinal siding without headaches later.
Plan the layout, pre-finish boards, set a rainscreen gap, and use stainless fasteners. Take it one step at a time and your trim will look sharp for years. Ready to start? Save this guide, make your material list, and share your progress or questions in the comments.