
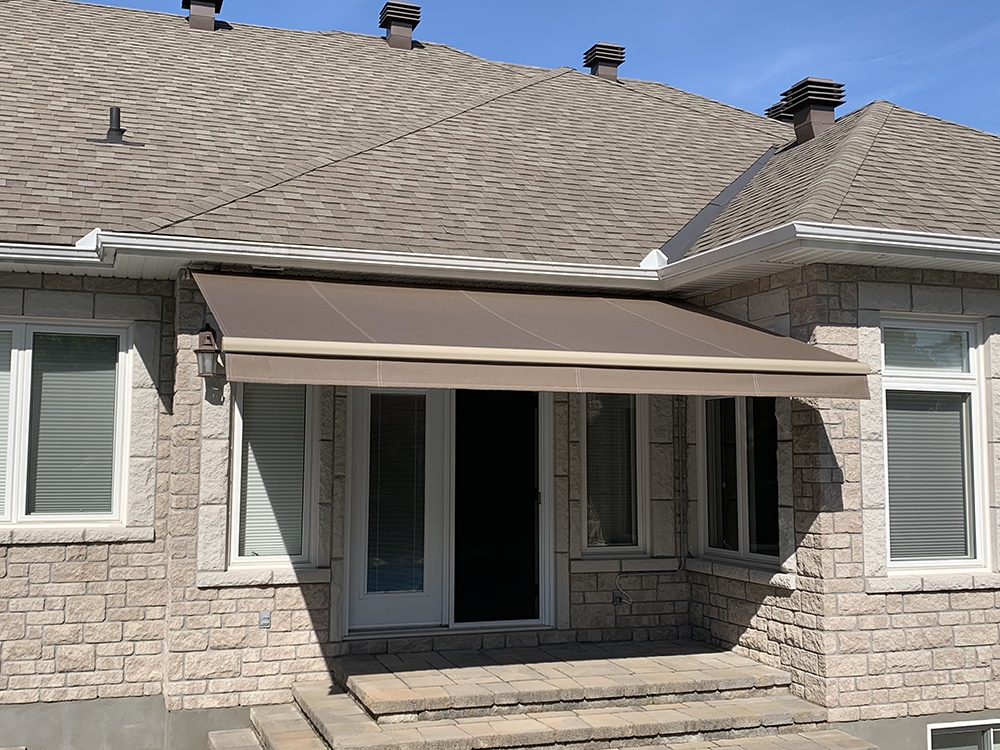
Mount the brackets into framing, not siding, with proper flashing and sealants.
If you want shade without leaks, you need more than brackets and screws. In this hands-on guide, I walk you through how to install deck awning on vinyl siding the right way—anchored into solid structure, flashed against water, and tuned for wind. You will learn where to mount, which fasteners to use, and how to avoid crushing vinyl. I’ve installed and repaired dozens of awnings, and I’ll share my field notes, time-savers, and mistakes to skip so you can finish strong on the first try.

Key considerations before you start
Before you touch a screw, plan your mount and your weatherproofing. Vinyl is a cladding. It is not a structural surface. All loads must transfer into wood framing or a rim joist.
Think about code and permitting. Some towns require permits for awnings, especially motorized units or large projections. Check wind and snow ratings from the manufacturer. Make sure your model is rated for your region.
Mind water. Any hole in a wall can leak. Plan flashing, tapes, and sealant paths. Keep a positive slope on the awning so water drains away.
Choose the height and pitch. Most retractable awnings need 7.5 to 10 feet of clearance and a 2 to 3 inch drop per foot of projection for runoff. Note any lights, vents, and doors that may block the fabric or arms.
If the awning is motorized, plan safe power. Use a GFCI circuit and drip loops. Follow electrical code.

Tools and materials checklist
Have everything ready before you open the wall. Stopping mid‑install invites leaks.
Essential tools:
- Stud finder with deep scan and a strong magnet
- Impact driver and drill with masonry and wood bits
- Level (4-foot or laser), tape measure, chalk line
- Oscillating tool or zip tool for vinyl siding
- Caulk gun and putty knives
- Socket set and torque wrench
Fasteners and hardware:
- Structural lag screws or ledger screws rated for exterior use
- Stainless or hot-dipped galvanized washers
- Vinyl siding mounting blocks or stand-off spacers
- Steel ledger or manufacturer’s header/hood as required
Waterproofing:
- Butyl tape
- Flashing tape
- Z-flashing or drip cap
- High-quality exterior sealant (polyurethane or advanced polymer)
Safety gear:
- Eye protection, gloves, stable ladders, and a helper
- Roof harness if working high or near edges

Plan the mounting: where and how to anchor
Here is the core of how to install deck awning on vinyl siding: you do not mount to vinyl. You mount through it, into framing. Think of the siding as a rain jacket. You lift it, secure your awning to the bones, then lay the jacket back down, sealed and trimmed.
Find framing. Use a magnet to locate siding nails, which often line up with studs. Confirm with a deep-scan stud finder from inside if you can. If mounting above a deck, the rim joist is a strong target. Sometimes you need to add blocking inside the wall or from the exterior by opening a section.
Decide on a ledger or brackets. Some awnings use wall brackets. Others come with a full-length header. A header spreads load and reduces point pressure. Follow the manufacturer’s layout for hole spacing, edge distances, and fastener size.
Mark your layout. Snap a level line for the top or center of brackets. Mark plumb lines so arms clear doors and lights. Dry-fit any hood or cassette if included.

Step-by-step: how to install deck awning on vinyl siding
Follow these steps. Work slow. Keep everything level and square.
- Confirm structure
- Verify you have studs or a rim joist at every bracket point. If not, plan blocking. Weak backing equals a failed install.
- Loosen or remove vinyl at mount points
- Use a zip tool to unlock panels. Remove only what you need. Save the J-channels intact if possible.
- Prepare flat, solid backing
- If the sheathing is uneven, add a treated, straight ledger or the manufacturer’s header. Shim only with rated exterior shims. Keep the surface flat.
- Flash the area first
- Apply butyl tape where hardware will compress. Lap flashing tape above the mount line. Slide Z-flashing under the course above so water sheds over the hardware.
- Pre-drill pilot holes
- Drill through sheathing into framing with the correct bit. Use the manufacturer’s hole size for lag screws. Keep holes straight and centered.
- Add mounting blocks or spacers
- Use vinyl siding mounting blocks or stand-offs so the brackets do not crush the siding. This also keeps a drainage plane.
- Set the header or brackets
- Butter the contact area with butyl. Set hardware on the line. Insert structural screws with washers. Tighten to the torque the manufacturer specifies. Do not overdrive.
- Seal smart, not sloppy
- Tool sealant at the top and sides of the hardware. Leave weep paths at the bottom. Water needs a way out.
- Hang the awning
- With a helper, lift the awning onto the brackets or header. Lock the safety clips or set pins. Double-check that every retention point is engaged.
- Adjust pitch and projection
- Set the drop so water runs off the front. Keep arms balanced and even. Cycle the unit open and closed a few times.
- Electrical for motorized units
- Run the cord to a GFCI outlet or have an electrician hardwire it. Drip loops prevent water from tracking to the motor.
- Reinstall siding around hardware
- Trim panels to fit tight around stand-offs. Reinstall J-channel if removed. Ensure the siding can still move for expansion.
- Final weatherproofing check
- Add a drip cap or hood if supplied. Seal fastener heads exposed to weather. Press all tapes flat and wrinkle-free.
- Load and wind test
- Gently apply downward and uplift force to check rigidity. Do not exceed ratings. If it wobbles, add a bracket or re-check fasteners.
- Clean up and document
- Photograph your flashing layers and fasteners. Keep the manual and torque values for future checks.
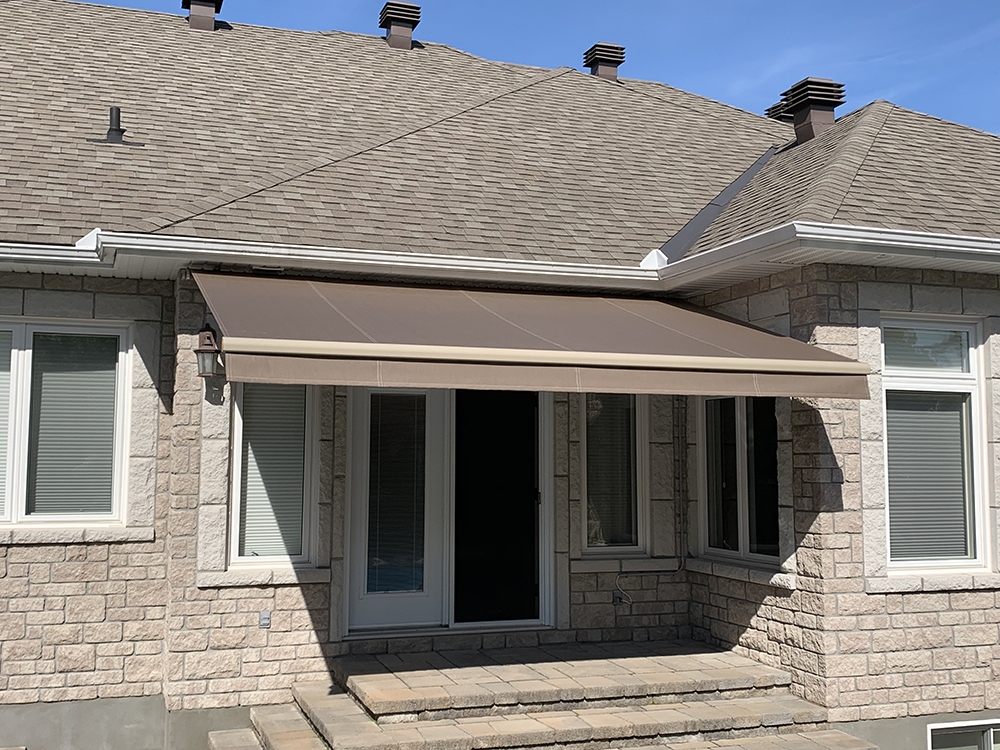
Weatherproofing and flashing details that prevent leaks
Water follows gravity and surface tension. Your job is to break that path. On any job of how to install deck awning on vinyl siding, I treat the top edge like a window head flashing.
Use a shingle-style approach. Tapes and metals must overlap so water always sheds outward. Z-flashing should tuck under the course above and over the bracket or header. Butyl behind hardware seals screw threads and compresses to fill gaps.
Choose the right sealant. Use a high-quality polyurethane or advanced polymer. Silicone can work on some metals but may not bond well to certain vinyls or painted woods. Always leave the bottom edge unsealed so any trapped water can escape.
Check after the first storm. If you see streaks or damp marks, pull a panel and fix it now. Early fixes prevent rot and mold later.
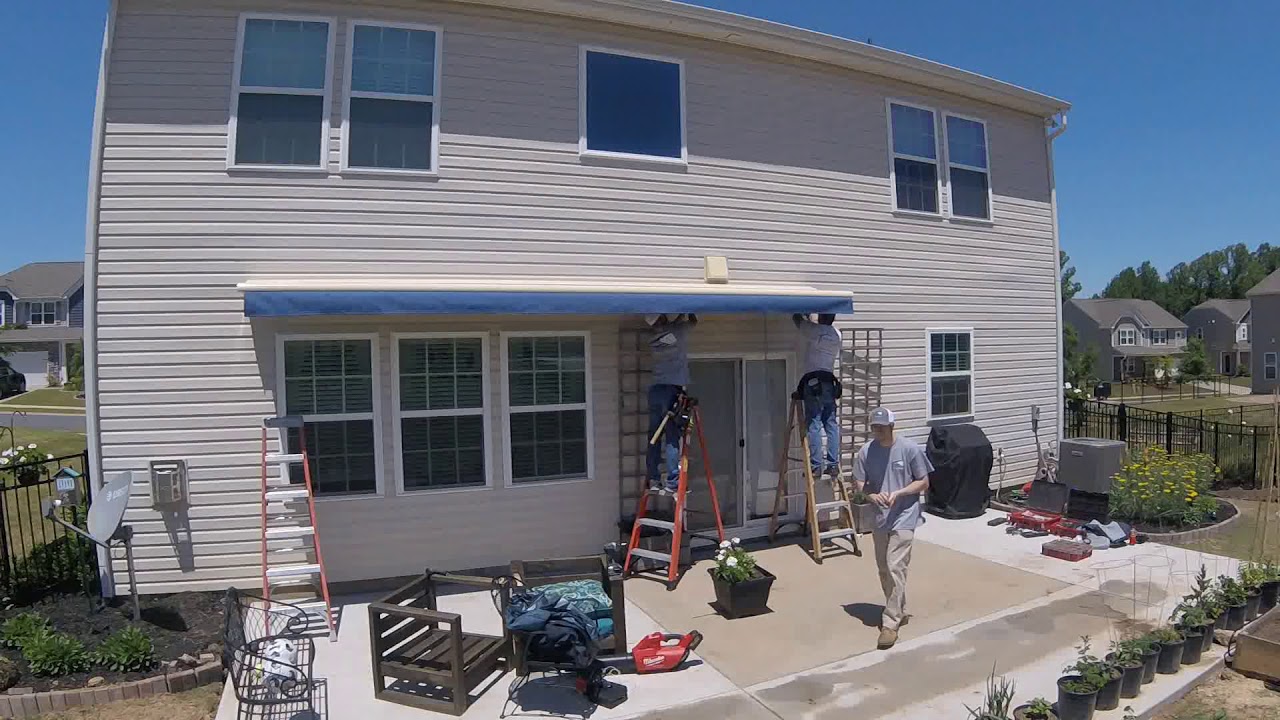
Special cases: hollow walls, foam, or new construction
Walls vary. The method for how to install deck awning on vinyl siding stays the same: go to structure.
If you have thick foam over sheathing, use longer structural fasteners that pass through foam into studs. Add large-diameter washers or a steel plate to spread the load. Avoid crushing insulation.
If the wall is hollow or framing does not align with bracket points, add blocking. You can open a strip of sheathing and insert treated blocking between studs. Fasten the blocking well. Seal and flash the opening before mounting hardware.
For masonry or concrete, use sleeve or wedge anchors sized per the awning manual. In mixed walls, consider a steel ledger that spans from one strong point to another. When in doubt, a local carpenter or structural tech can design a simple ledger plan fast.
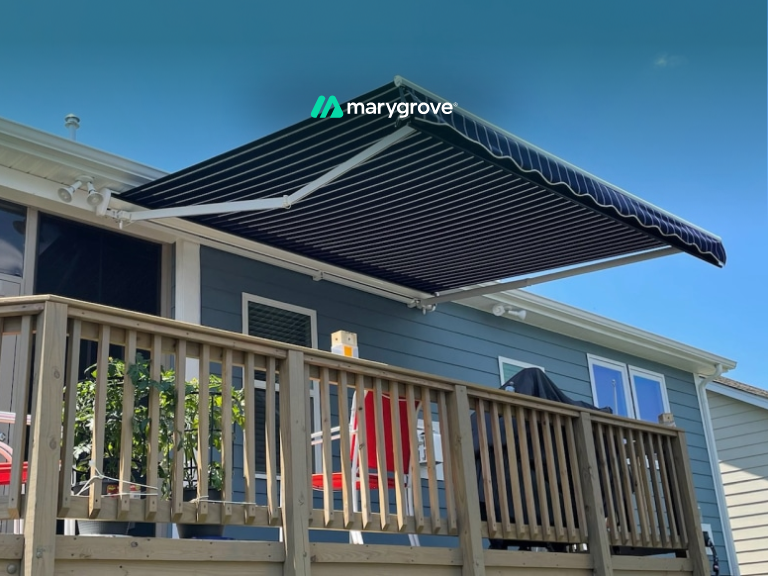
Testing, adjustments, and ongoing care
Run the awning through full travel. Listen for rubbing or binding. Make small pitch and arm-tension tweaks until motion is smooth.
Check fasteners after 24 hours and again after 30 days. Wood can relax around hardware. Re-torque to spec. Clean fabric per the maker’s guide. Retract in high winds and during snow. A 30-second habit saves a costly repair.
Before each season, inspect sealant and tapes. UV light beats on them. Replace anything cracked. A dry wall is a happy wall.

Common mistakes and how to avoid them
I have fixed many failed installs. Most problems come from a few avoidable errors.
- Screwing into vinyl only. It will rip out. Always hit studs or a rim joist.
- No flashing above brackets. Water sneaks in. Use Z-flashing and tapes.
- Over-tightening lags. Wood splits or threads strip. Follow torque specs.
- Zero stand-offs. Siding gets crushed and leaks form. Use blocks or spacers.
- Wrong height or pitch. Doors hit arms. Water pools. Plan clearances first.
- Ignoring wind ratings. Big storms bend arms. Retract early and tie off.
Keep a checklist. Slow is smooth, and smooth is fast. That mindset wins every time you work on how to install deck awning on vinyl siding.

Cost, time, and when to call a pro
A DIY install for a mid-size retractable unit often takes 4 to 6 hours with two people. Expect to spend on fasteners, tapes, flashing, and blocks on top of the awning price. Budget a little extra for quality sealants. They matter.
Call a pro if you lack solid backing, need structural blocking, or plan to mount high on a two-story wall. Also call if your model is large, motorized, or includes sensors and smart controls. A good installer brings experience, which is the quiet force behind a leak-free job.
If you are still unsure about steps in how to install deck awning on vinyl siding, consult the manufacturer’s technical support. They will confirm bracket spacing, fastener sizes, and wall specifics for your model.
Frequently Asked Questions of how to install deck awning on vinyl siding
Do I attach the awning to the vinyl siding itself?
No. Vinyl is not structural. You must fasten through the siding into studs, a header, or a rim joist using structural screws.
What fasteners should I use for an awning install?
Use exterior-rated structural lags or ledger screws sized per the manufacturer. Include washers and pre-drill to prevent splitting and to achieve proper torque.
How high should I mount the awning on a deck wall?
Most units need 7.5 to 10 feet of clearance. Set a pitch of about 2 to 3 inches per foot of projection so water runs off the front.
How do I prevent leaks around the brackets?
Flash like a window head. Use butyl behind hardware, install Z-flashing above, and tape laps so water sheds outward while leaving a weep path below.
Can I install a motorized awning myself?
Yes, if you are comfortable with structure and waterproofing. Have a licensed electrician handle power or use a GFCI outlet per code.
What wind speed should I retract my awning?
Follow the awning’s wind class rating. As a rule, retract when steady winds rise above 15 to 20 mph to protect the arms and fabric.
Will mounting blocks look bulky on vinyl siding?
Good mounting blocks blend well and keep a clean reveal. They also stop siding from crushing and help maintain a proper drainage plane.
Conclusion
You now know the real secret of how to install deck awning on vinyl siding: hit structure, flash like a window, and follow the manual. Plan your layout, protect the wall, and tune the pitch. Take the extra 15 minutes to seal and re-check torque.
Shade should add joy, not stress. If any step feels unclear, talk with the manufacturer or a local pro, then move ahead with confidence. Ready to start? Grab your checklist, measure twice, and share your results or questions in the comments so we can learn together.